This site is supported by our readers. We may earn a commission, at no cost to you, if you purchase through links.
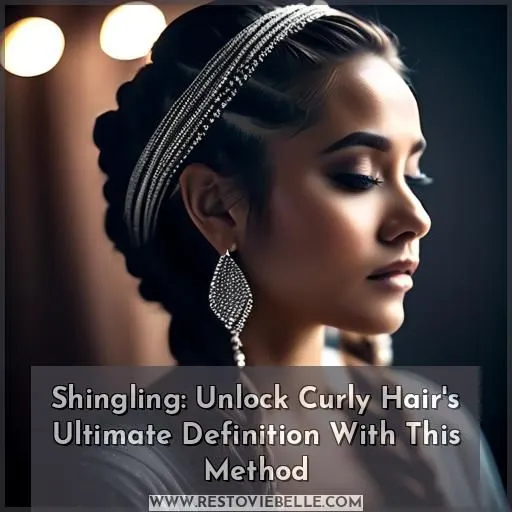
The shingling method is your secret weapon for sculpting luscious, defined curls. By layering leave-in conditioner and curl enhancing products, you’ll create clumped curl formations that smooth the cuticle and extend the life of your style.
Start with clean, detangled hair, then section and spritz damp. Apply the leave-in, then generously coat with a curling cream or gel, smoothing each section. Detangle gently with a brush or fingers as you go.
Suitable for all hair types, even waves can benefit from this technique. Master the shingling method, and unleash your hair’s full curl potential.
Table Of Contents
Key Takeaways
- The shingling method is a curl defining technique that involves applying products in layers to create clumps of curls, which extends curl longevity and enhances definition.
- To shingle, you’ll need a leave-in conditioner, curling cream or gel, hair oil (optional), a detangling brush or fingers, a spray bottle, a diffuser (optional), and hair clips or pins.
- Shingling is suitable for all hair types, but works best for hair that naturally clumps together. It is porosity compatible and can be used with various drying techniques, such as diffusing or air-drying.
- Key steps in the shingling process include starting with clean, detangled hair, separating it into sections and spraying to keep damp, applying a leave-in conditioner, layering on curling cream or gel, detangling with a brush or fingers, and clipping or pinning sections while drying.
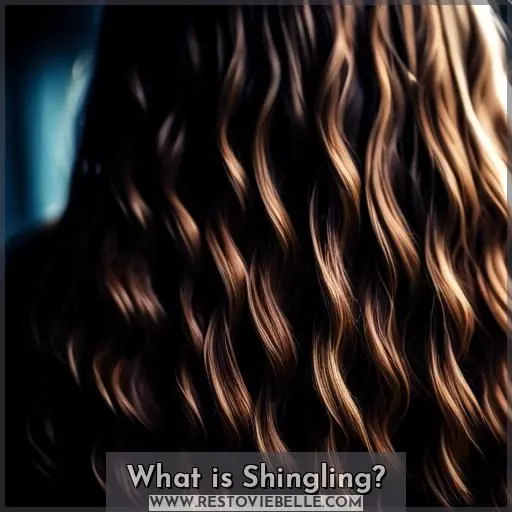
What is Shingling?
The shingle method is a curl defining technique that involves applying products in layers to create clumps of curls. This method is suitable for all hair types, but works best for hair that naturally clumps together. It’s porosity compatible and can be used with various drying techniques, such as diffusing or air-drying.
Shingling differs from traditional product application methods by focusing on curl clumping, which extends curl longevity and enhances definition. To shingle, you’ll need a leave-in conditioner, curling cream or gel, hair oil (optional), a detangling brush or fingers, a spray bottle, a diffuser (optional), and hair clips or pins.
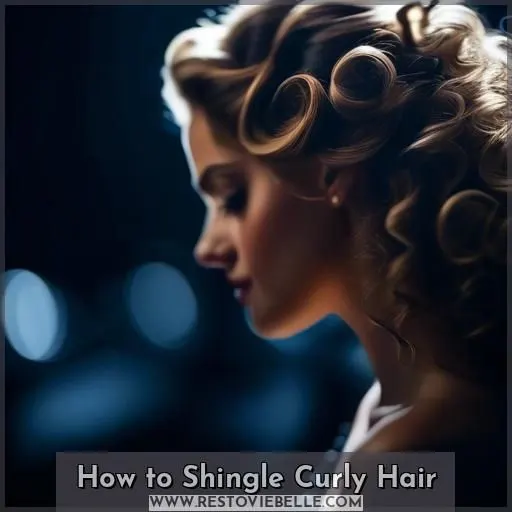
How to Shingle Curly Hair
Ready to take your curly hair to the next level? Follow these simple shingling steps to achieve defined, long-lasting curls. With the right materials and techniques, you’ll be on your way to salon-worthy results in no time.
Step-by-Step Instructions
To shingle your curly hair, start with clean, detangled hair. Separate it into sections and spray to keep damp. Apply a leave-in conditioner, then layer on curling cream or gel to individual clumps. Encourage hair clumping and smooth waves in wavy hair.
Low-porosity hair may need less oil. Detangle with a brush or fingers, using a diffuser if desired. Clip or pin sections while drying.
Required Materials
To shingle your curly hair, you’ll need a few essential materials:
- Leave-in conditioner: This product helps to keep your hair moisturized and detangled, ensuring a smooth shingling process.
- Curling cream or gel: Choose a product that suits your hair type and porosity. For low porosity hair, opt for lightweight, water-based products. For medium porosity hair, look for a balanced, moisturizing shampoo and conditioner. For high porosity hair, use creamy, emollient-rich conditioners and leave-in conditioners to seal in moisture.
- Hair oil (optional): Light oils like argan oil or grapeseed oil can be used to seal the cuticles and reduce frizz.
- Detangling brush or fingers: A detangling brush or your fingers can be used to detangle your hair before shingling.
- Spray bottle: This is used to keep your hair damp during the shingling process.
- Diffuser (optional): A diffuser can be used to distribute heat evenly when drying your hair after shingling.
- Hair clips or pins: These are used to section your hair while shingling for easier application and better results.
Remember to choose products that are suitable for your hair type and porosity to achieve the best results.
Suitable Hair Types
Shingling isn’t picky; it embraces all hair types with open arms, aiming to boost your curl definition like a personal cheerleader.
- Suitable hair types range from the finest strands that whisper in the wind to denser curls that roar with volume.
- Finer hair might need a nudge to form those coveted clumps.
- Even wavy hair gets a ticket to the smooth, defined waves party.
Common Pitfalls to Avoid
Don’t skip the detangling step – tangles will prevent the shingling technique from working properly. Be mindful of product application, as using too much can weigh down your curls and using too much oil can make them look greasy.
Don’t Skip Detangling
Don’t Skip Detangling: Before starting the shingling process, make sure your hair is detangled. Use detangling tools like a wide-tooth comb or your fingers. For dry detangling, work from the ends up. For wet detangling, use a spray bottle to dampen the hair. Jewelliana Palencia, a hairstylist, suggests using hair pins to secure sections while detangling.
Don’t Apply Too Much Product
Just like you wouldn’t flood a garden, don’t drown your curls in product. Overzealous product layering leads to build-up, turning your quest for definition into a sticky mess. Aim for even product distribution, allowing each curl to breathe and absorb what it needs. Remember, mastering shingling is a dance of product experimentation, not a product dumping contest.
Don’t Apply Too Much Oil
Shingling is a popular curl defining technique that involves applying products to your hair in layers, starting from the bottom and working your way up. This method smoothes the cuticle, creating ultimate definition and extending curl longevity. However, it’s important to be cautious about the amount of oil you use during the shingling process. Here’s why:
- Oil Absorption: Hair porosity is important in determining how much oil your hair can absorb. If you have highly porous hair or denser 4A to 4C coils, you may need more oil to seal the hair cuticle and prevent moisture from escaping. However, if your hair is low-porosity or has a low density, using too much oil can weigh it down and make it look greasy.
- Product Layering: Shingling is all about layering products, starting with a leave-in conditioner, followed by a curl cream or gel, and then an oil (optional). Applying too much oil can disrupt this balance and make it difficult to achieve the desired definition and hold.
- Moisture Retention: Shingling is about sealing in moisture, not just adding more oil. If you apply too much oil, you may create a barrier that prevents moisture from penetrating your hair, leading to dryness and brittleness.
To avoid applying too much oil when shingling, follow these tips:
- Choose the Right Oil: Opt for a lighter oil that won’t weigh down your hair, such as argan oil or rosemary oil. These oils can provide hydration without making your hair look greasy.
- Apply Oil Sparingly: When applying oil, use a few drops between your fingertips and smooth it over the clump. Be mindful of the amount you’re using and avoid using too much.
- Consider Your Hair Type: If you have low-porosity hair or a low hair density, use less oil to avoid weighing down your hair.
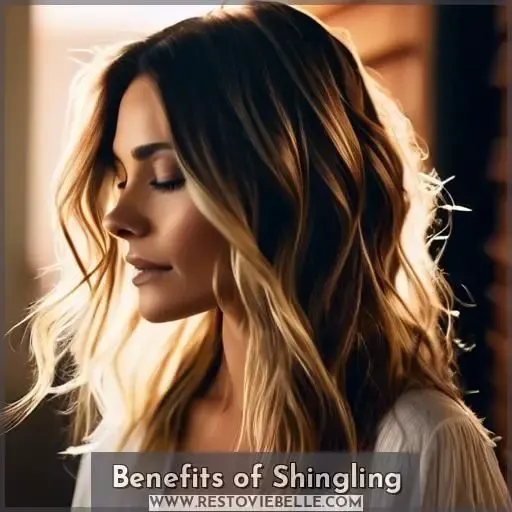
Benefits of Shingling
Curly hair types can experience the benefits of shingling, which smooths the cuticle for ultimate curl definition. Shingling also extends the longevity of your curl pattern, so you can enjoy polished, frizz-free styles for longer.
Smooths Cuticle
Shingling your curly hair is like giving it a fresh coat of asphalt, smoothing out the cuticle for ultimate definition. This technique not only makes your curls pop, but also enhances their durability, preserving their fabulousness for an extended period. Just remember to apply your products in layers, not like a rooftop covered in shingles from GAF or Certainteed.
Extends Curl Longevity
Shingling extends your curls’ longevity by creating hydrated, defined curls with enhanced moisture and reduced frizz. This method smooths the cuticle, allowing your curls to hold their shape for longer periods. By applying products in layers, you can guarantee your curls stay defined and long-lasting.
Ultimate Definition
Shingling is a layering technique that helps curly hair clump together, creating the ultimate definition. This method works for all hair types, including those with different curl shapes. By applying products in layers, shingling smooths the cuticle and extends curl longevity.
However, it’s crucial to take porosity into account and experiment with various products to find the optimal fit for your hair.
Remember to detangle, use the appropriate amount of product, and refrain from touching your hair before it’s completely dry.
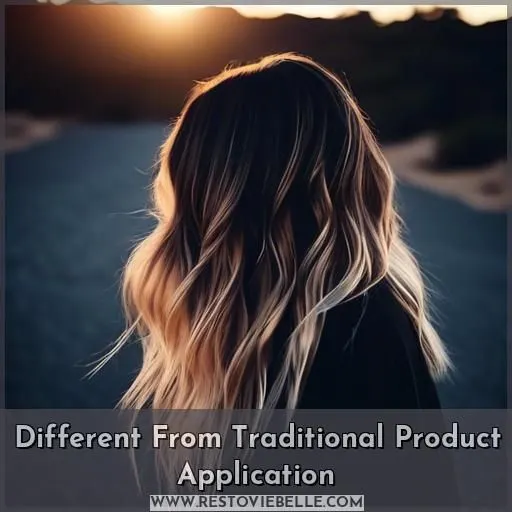
Different From Traditional Product Application
Shingling is a curl defining technique that involves applying products to your hair in layers, starting from the bottom and working your way up. This method differs from traditional product application, which often involves raking or combing through your hair to evenly distribute products.
Shingling focuses on creating clumps and defining each individual curl, resulting in more defined curls and longer-lasting styles. Unlike layering shingles on a roof, which can have negative effects on the roof’s lifespan and structure, shingling your hair doesn’t have these concerns. Instead, it allows for better product absorption and curl definition, making it a popular choice for those with curly or wavy hair.
Frequently Asked Questions (FAQs)
What type of hair is Shingling best for?
Shingling is best suited for hair that clumps together naturally. If your strands have a tendency to form lovely little curl clusters, this technique is your curl-defining ticket to soft, smooth waves and spirals.
Can Shingling be done on straight hair?
Why limit your hair’s potential? Like a caterpillar unfurling wings, shingling can transform straight tresses into undulating waves, releasing newfound movement and dimension. Embrace the art of curl control – your mane awaits its transformation.
How often should Shingling be done?
You should shingle as often as your hair needs it – usually every 3-7 days for tight curls, or weekly for waves. Listen to your strands; if they’re looking limp or frizzy, it’s time for another shingling session to revive definition and bounce.
Is Shingling a protective style?
Shingling isn’t a protective style per se, but rather a curl-defining technique that smooths your hair’s cuticles. However, by minimizing frizz and maximizing definition, it indirectly protects your tresses from potential damage caused by rougher styling methods.
Can Shingling damage hair?
Shingling won’t damage your hair if you’re gentle. Avoid rough detangling, using too much product, or touching curls before they dry. With the right technique and lightweight products suited for your hair type, shingling can actually enhance curl definition and longevity.
Conclusion
Picture effortlessly sculpted curls pulsating with vitality, each ringlet an emblem of precision.
Unlocking the enigma of the shingling method for hair reveals the key to unleashing your mane’s true potential.
Through perseverance and accuracy, you’ll tame the cuticle, prolong curl endurance, and revel in stunningly luscious, defined spirals that demand admiration.
Adopt this meticulous technique, and let your curls reign supreme.

