This site is supported by our readers. We may earn a commission, at no cost to you, if you purchase through links.
To achieve an at-home silver hair transformation, you’ll need to carefully prepare and bleach your hair to the lightest possible shade. Start by performing a skin sensitivity test and protecting your skin and clothing with gloves and petroleum jelly.
Bleach your hair in multiple sessions, gradually increasing the developer volume as needed. Follow up with a silver-specific toner to neutralize any remaining warmth.
When applying the gray dye, mix it with a clear or white conditioner to dilute the color and avoid damage. Understanding your hair’s underlying levels is key to guiding this process.
Table Of Contents
Key Takeaways
- Conduct a patch test and protect your skin and clothing with gloves and petroleum jelly.
- Gradually increase the developer volume to achieve the desired lightness.
- Use a toner specifically formulated for silver or gray hair to neutralize any remaining warmth.
- Mix the gray dye with a clear or white conditioner to dilute the color and avoid damage.
How to Dye Hair Silver at Home?
To dye your hair silver at home, you can use a semi-permanent violet-based dye, such as the Pravana Chromasilk Vivids in Silver, which requires no developer and causes no damage to your hair.
You can apply this directly from the tube with a brush and bowl, and dilute it with conditioner for a lighter shade.
Remember to maintain your silver hair with products like the Roux Fanci-Full Rinse in Silver Lining, a temporary hair color rinse that lasts until you shampoo it out.
Pre-Dyeing Considerations
Prior to embarking on the home-based silver hair dyeing endeavor, it’s prudent to contemplate several pivotal factors. Embracing a permanent hair color alteration, undertaking a preparatory trial run with temporary silver spray, and observing a suitable interval following prior coloring endeavors are all indispensable pre-dyeing measures to guarantee a seamless silver metamorphosis.
Pre-Dyeing Preparation
Before you begin your silver hair journey, it’s indispensable to prepare yourself and your hair for the transformation ahead. Here are some fundamental pre-dyeing considerations to safeguard a successful and safe experience:
- Commitment to Permanent Color: Silver hair is a permanent color, so ascertain that you’re ready for the long-term commitment.
- Temporary Silver Spray Trial Run: Test out a temporary silver spray to ascertain if the color suits you before committing to a permanent dye.
- Waiting Period After Previous Hair Coloring: Wait for the recommended time after your last hair coloring session to prevent damaging your hair.
- Deep Conditioning: Keep your hair hydrated and healthy by deep conditioning regularly.
- Skin Allergy Test: Conduct a patch test to guarantee you’re not allergic to any ingredients in the hair dye.
- Toner Selection: Choose a toner that suits your hair type and desired color outcome.
- Hair Bleach: Bleach your hair to the lightest possible level (level 10 blonde) to achieve the best silver color.
- Bleach Hair at Home: If you’re going to bleach your hair at home, research and follow proper techniques to prevent damage.
- Hair Color: Understand the level system to determine how light your hair will lift in a single bleaching session.
- Pre-Dying Preparation: Stock up on deep conditioning treatments and hair masks for post-bleaching care.
Bleaching Techniques
Bleaching your hair to achieve the desired silver color involves careful consideration of the bleach types, developer strength, hair porosity, bleach application, and bleach timing. Here are some key points to keep in mind:
- Bleach types: Choose a bleach formula that’s suitable for your hair type and desired lightness. Some formulas may be more gentle on the hair, while others may provide faster results.
- Developer strength: Start with a lower volume of developer, such as 10 or 20 volumes, and gradually increase as you move through your hair. This ensures even processing and helps prevent over-processing.
- Hair porosity: Understand your hair’s porosity level, as this can affect how quickly the bleach will work. Highly porous hair may require less bleach, while less porous hair may need more.
- Bleach application: Apply the bleach in small sections, starting with the ends and working your way up to the roots. Be sure to use a plastic brush or applicator to avoid damaging your hair.
- Bleach timing: Bleach typically stops processing after 55 minutes to an hour. If you need to reapply more bleach, mix a new bowl and apply it to the hair to restart the processing time.
Toning for Silver Hues
To achieve the ideal silver or gray hair, toning is an essential step following bleaching. Toner eliminates yellow undertones and aids in preserving the desired color. Here are three key points to bear in mind when toning for silver or gray hair:
- Toner Selection: Select a toner specifically formulated for silver or gray hair, such as a blue-violet or violet-based toner. These toners aid in counteracting yellow undertones and producing a cool, silver effect.
- Application: Apply the toner to damp hair, beginning at the scalp and proceeding to the ends. Process for the duration advised on the toner package, usually 5-20 minutes.
- Maintenance: After rinsing out the toner, condition your hair to ensure it remains healthy and lustrous. Repeat the toning procedure as necessary to maintain the silver or gray color.
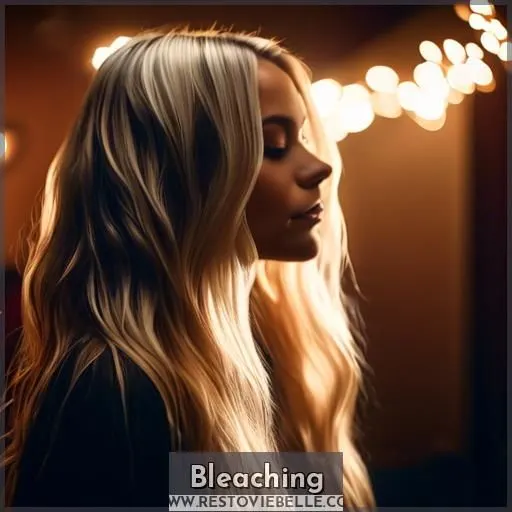
Bleaching
Lightening your hair is a critical step in achieving the silver hair transformation you desire. It involves using a bleach solution to brighten your hair, which can be a harsh process that damages the hair cuticle and weakens the bonds inside the hair. However, with the right preparation and application, you can minimize the damage and achieve the desired silver shade.
First, think about the volume of the developer you’ll use. A higher volume developer will lift your hair color faster, but it may also cause more damage. A 20 volume developer is a common strength for mixing with bleach and provides 2-3 levels of lift, which is enough to take dark brown hair to a light brown shade. If your hair is darker, you may need to bleach it in multiple sessions or use a higher volume developer.
Always read the instructions on the bleach package carefully and follow them closely. Apply the bleach evenly to your hair, starting from the ends and working your way up to the roots. Be sure to protect your skin and scalp with petroleum jelly or a protective cream.
After bleaching, your hair may feel dry, brittle, or frizzy. To combat this, use a deep conditioning treatment or hair mask regularly. You may also want to consider using a bond repairing treatment to help strengthen your hair and protect it from further damage.
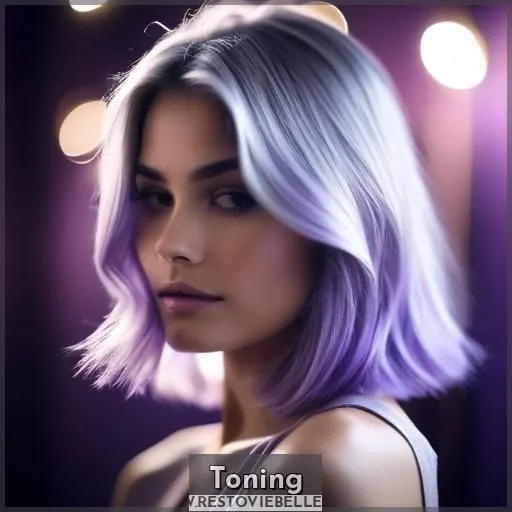
Toning
To achieve the desired silver hair color, toning is essential. Toners aid in neutralizing yellow undertones and intensifying the silver hue. Here’s how to achieve it:
- DIY Toner: Create a medium shade of indigo blue by mixing white hair conditioner and semi-permanent dye. Apply this mixture to your hair once or twice a week after washing. Use a tablespoon for each application and comb through your hair with a wide-tooth comb before rinsing.
- Purple Shampoo: For those who prefer a more conventional approach, use purple shampoo to maintain silver hair. These products are formulated to neutralize yellow tones and preserve the brightness of your silver color.
- Toner Development Time: Generally, toners should be left on for 20-30 minutes, but monitor the process regularly to prevent over-toning.
- Silver Conditioner: After toning, apply a silver conditioner to guarantee the color remains vibrant and lustrous.
- Silver Hair Dye: If you’re not content with the color, consider using a silver hair dye to achieve a darker or more intense shade. Apply the dye in accordance with the package instructions.
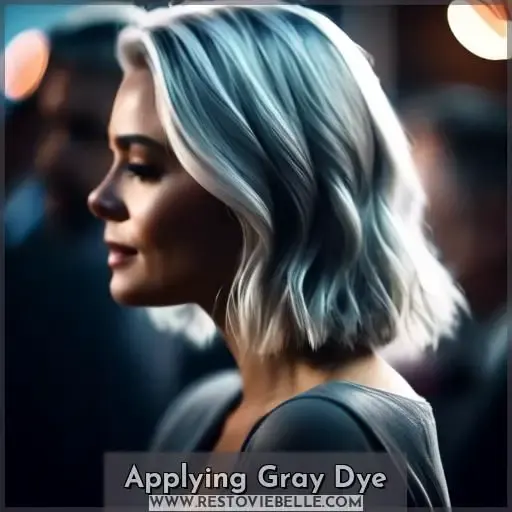
Applying Gray Dye
To achieve the perfect silver hair transformation, there are several steps you should adhere to when applying gray dye. Here are three key points to bear in mind:
- Method of Application: Apply the dye from the roots to the ends, guaranteeing even coverage. Utilize a brush or applicator to guarantee the dye is distributed evenly.
- Diluting with Conditioner: Mix the dye with a clear or white conditioner to dilute the color and create a more subtle effect. This can also help to protect your hair from damage caused by the dye.
- Semi-Permanent Dye: Use a semi-permanent dye for your silver hair transformation. These dyes don’t contain peroxide or a developer, which can cause damage to your hair.
Additionally, you can create a DIY vegan formula by mixing a purple or violet-based toner with a clear or white conditioner. This will help to neutralize any yellow undertones and enhance the silver color of your hair. Remember to follow the toner package instructions for application time and rinsing.
When applying gray dye, it’s essential to avoid using a developer, as this can cause damage to your hair. Instead, use a brush and bowl technique to apply the dye evenly to your hair. After the development time, rinse your hair thoroughly to remove the dye.
Incorporating these steps into your silver hair transformation process will help you achieve a beautiful, even silver color that lasts.
Preparation
Preparation is paramount to achieving a triumphant at-home silver hair transformation. Prior to dyeing, pledge to a steadfast color and perform a skin sensitivity test.
Choose suitable hair dye, bleach, and toner contingent upon your hair type and coveted shade. Shield clothing and skin with petroleum jelly and don gloves. Bleach hair in multiple sessions, striving for the palest possible shade.
Apply toner to eradicate yellow undertones and condition hair meticulously. Accumulate deep conditioning treatments and hair masks to preserve hair vigor, elasticity, and porosity.
Bear in mind, toner fading is commonplace, thus be prepared to refresh your silver hue sporadically.
Risks
Bleaching your hair at home can be risky business. Misuse of bleach can lead to severe damage, including hair breakage, frizziness, and dryness. Peroxide, a necessary component of the bleaching process, can break apart hair proteins, causing irreversible damage if not used correctly.
Additionally, toning silver hair requires patience and precision, as toners tend to fade over time. Maintaining silver hair involves frequent touch-ups and toning, which can be time-consuming and costly.
Always refer to hair color charts, follow package instructions, and consider seeking professional help to minimize risks.
Research
Research is paramount in achieving the ideal silver hair color at home. DIY color can be a viable option for those seeking to conserve funds or experiment with varying hues, but it’s imperative to comprehend the potential hazards and the significance of adequate preparation and subsequent care. Here are some pivotal points to ponder when delving into silver hair transformation:
- Hair Damage: Bleaching and dyeing hair can inflict damage if not executed properly. Be cognizant of the potential risks and adopt necessary measures to minimize damage.
- Silver Maintenance: Silver hair necessitates frequent touch-ups and conditioning to sustain the desired hue. Accumulate deep conditioning treatments and hair masks to maintain hair health.
- Toner Fading: Toners incline to fade over time, necessitating regular touch-ups to preserve the silver tone.
- Level System: Comprehend the level system to ascertain how hair will lighten in a single bleaching session. Peroxide, also known as developer, is an indispensable component of the bleaching process.
- Silver Hair Inspiration: Seek inspiration from silver hair, before and after photographs, and silver hair galleries to gain insight into the final outcome and the process involved.
- Silver Hair Tips: Adhere to expert advice on achieving and maintaining silver hair, such as utilizing a non-metallic bowl or applicator bottle, blending toner with conditioner, and eschewing harsh chemicals in hair products.
- Hair Color Trends: Remain abreast of the latest hair color trends to guarantee that your silver hair remains fashionable.
Timeline
Transforming your hair into a stunning silver hue is a process that requires patience and dedication. Depending on your hair’s natural color, it could take weeks to months to reach the desired silver color. Bleaching hair a total of three times over the course of a month and a half isn’t uncommon.
Each bleaching session may turn your hair a new shade of brassy-orange to pale yellow. Remember, hair health is paramount, so be sure to deep condition regularly and avoid over-bleaching.
Color longevity will depend on your application techniques and toner alternatives, such as DIY options or toning with a violet-based shampoo.
Embrace the journey to silver hair color ideas, accessories, fashion, and trends with a positive attitude.
Understanding Hair’s Levels
Understanding hair’s levels is essential for your at-home silver hair transformation. The level system, ranging from 1 (black) to 10 (platinum blonde), refers to hair lightness or darkness. Your natural melanin composition determines your hair’s level.
Bleach, when combined with peroxide, opens the hair cuticle and removes these pigments, lightening your hair. For silver hair, aim for a very light level 9 or ideally level 10. This knowledge will help you navigate hair color inspiration and make informed decisions throughout your transformation journey.
Silver Hair Care Tips
To maintain your silver hair, follow these tips:
- Regular Touch-ups: Schedule touch-ups every 6-8 weeks to keep your silver hair vibrant.
- Professional Help: Consider visiting a professional for toning and bleaching to guarantee even coverage.
- Deep Conditioning: Use deep conditioning treatments and hair masks to keep hair hydrated and healthy.
- Protective Styling: Opt for protective styles like braids or buns to prevent damage from environmental factors.
- Avoid Heat: Minimize heat styling tools to prevent damage and preserve the silver color.
Frequently Asked Questions (FAQs)
What is the best shampoo for silver hair?
To maintain stunning silver hair, reach for a sulfate-free shampoo formulated for color-treated locks. Opt for a violet-tinted formula to vanquish brassy tones and keep your silvery hue icy-fresh. Your locks will be gleaming in no time!
How often should I tone my silver hair?
Maintaining that shimmery silver hue is like tending to a prized garden – you’ll need to tone it every 4-6 weeks to prevent pesky yellow weeds from sprouting up. Stay on top of it and your hair will stay picture-perfect.
Can I use a hair straightener on my silver hair?
Yes, you can use a hair straightener on your silver locks, but proceed with caution. The heat can amplify brassiness and dullness. Use a heat protectant and style with a light touch to keep your silver shining.
What is the difference between silver and gray hair?
While silver and gray may seem like kissing cousins, they’re quite different. Silver hair shimmers with a cool, metallic gleam, whereas gray has a softer, more muted tone. One’s sleek, the other’s subdued – your hair, your choice!
Can I dye my hair silver if its already damaged?
With proper prep and technique, you can absolutely dye your damaged hair silver at home. Prioritize hair health, use gentle dyes, and take it slow – your locks will look salon-fresh in no time.
Conclusion
Silver hair, an emblem of knowledge and sophistication, can now be accomplished right at home. By carefully bleaching, toning, and applying gray dye, you can metamorphose your locks into a breathtaking silver masterpiece. Bear in mind to proceed with care, comprehending your hair’s levels, and diligently tending to your new silver hue.
Embrace this alluring at-home silver hair transformation and let your inner radiance gleam through.

