This site is supported by our readers. We may earn a commission, at no cost to you, if you purchase through links.
 Dermaplaning at home – it’s a brave new world!
To do it safely, start by prepping your skin with a gentle cleanser and primer.
Choose a Dermaplaning Tool that’s right for your skin type, and don’t be afraid to invest in a good one.
Hold the tool at a 45-degree angle and use short, feathery strokes in the direction of hair growth.
Don’t overdo it – a few passes is enough.
And remember, safety first! Clean and dry your tool after each use to prevent any, ahem, "unwanted guests."
Now, are you ready to get started and reveal your radiant skin?
Table Of Contents
- Key Takeaways
- Preparing Your Skin for Dermaplaning
- Choosing the Right Dermaplaning Tool
- Dermaplaning Techniques for Beginners
- Dermaplaning on Different Skin Types
- Post-Dermaplaning Care and Hydration
- Maintaining Your Results With Dermaplaning Touch-Ups
- Frequently Asked Questions (FAQs)
- What should I put on my face before dermaplaning it?
- Is it safe to dermaplane at home?
- Is it better to Dermaplane wet or dry?
- How to dermaplane at home for beginners?
- Will my hair grow back thicker after dermaplaning at home?
- Can I dermaplane over active acne or rosacea at home?
- How often should I replace my dermaplaning razor blade at home?
- Can I use a regular razor instead of a dermaplaning tool?
- Will dermaplaning at home cause breakouts or skin irritation?
- Conclusion
Key Takeaways
- Before starting dermaplaning at home, make sure to prep your skin with a gentle cleanser and primer to remove dirt, oil, and makeup. Think of it as a double cleanse to get your skin squeaky clean.
- To dermaplane safely and effectively, choose a high-quality dermaplaning tool designed for your skin type. Don’t be afraid to invest in a good one – your skin will thank you.
- Hold the dermaplaning tool at a 45-degree angle and use short, feathery strokes in the direction of hair growth. Don’t overdo it; a few passes are enough. Remember to clean and dry your tool after each use to prevent any unwanted guests.
- After dermaplaning, apply a hydrating serum to replenish your skin’s moisture. Massage it gently for maximum absorption. This is the perfect time to give your skin some extra TLC and lock in that radiant glow.
Preparing Your Skin for Dermaplaning

You’re about to learn the pro secrets to dermaplaning at home safely, and it all starts with prepping your skin. Before you even pick up that dermaplaning tool, get your skin squeaky clean with a facial cleanser and cleansing primer to remove dirt, oil, and makeup – trust us, your skin (and the dermaplaning tool) will thank you!
Cleansing Your Skin With a Facial Cleanser
Start by cleansing your skin with a gentle facial cleanser that suits your skin type. Look for ingredients like glycerin or ceramides that help lock in moisture, and avoid harsh exfoliants that can irritate sensitive skin.
Using a Cleansing Primer to Remove Dirt and Makeup
Using a cleansing primer before dermaplaning helps remove dirt and makeup, ensuring a smooth experience. Here are 3 primer benefits:
- Deep cleansing: Removes impurities and excess oil.
- Skin balancing: Prepares skin for dermaplaning.
- Enhanced results: Boosts dermaplaning effectiveness.
Double-Cleansing for a Deeper Clean
You’re on a roll! To take your cleansing game to the next level, try double-cleansing. Here’s how:
| Double-Cleansing Products | Benefits | Cleanser Recommendation |
|---|---|---|
| Oil-Based Cleanser | Removes makeup, sunscreen | Cetaphil Gentle Makeup Remover |
| Water-Based Cleanser | Balances skin pH | Neutrogena Hydrating Facial Cleanser |
| Micellar Water | Gentle, effective | Garnier SkinActive Micellar Water |
| Cleansing Balm | Moisturizes, soothes | Drunk Elephant Slaai Makeup-Melting Butter Cleanser |
| Exfoliating Cleanser | Exfoliates, brightens | Dermalogica Daily Microfoliant |
Double-cleansing helps make sure your skin is squeaky clean for dermaplaning.
Choosing the Right Dermaplaning Tool
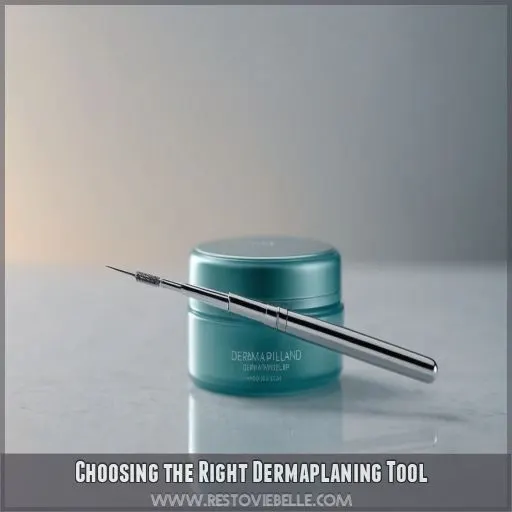
You’re ready to give dermaplaning a try at home, but first, you need to choose the right tool for the job – don’t worry, it’s easier than you think! To dermaplane safely and effectively, you’ll want to select a high-quality dermaplaning razor or tool that’s designed for your skin type and needs (Source).
Dermaplaning Razors Vs. Surgical Blades
Now that your skin is prepped, let’s talk tools. When comparing dermaplaning razors and surgical blades, think about blade sharpness, cost, and safety concerns. Here are key differences to keep in mind:
- Dermaplaning razors are generally less expensive, but may not be as sharp as surgical blades.
- Surgical blades are often used by professionals for more precise results, but can be pricier.
- At-home dermaplaning kits usually include a single blade, which may need to be replaced frequently for the best results.
Selecting a Dermaplaning Tool for Your Skin Type
Choosing the right dermaplaning tool for your skin type is really important. Consider your skin’s sensitivity, the blade’s sharpness, and the tool’s cost. Check the brand’s reputation and user reviews to make sure you’re getting a quality tool.
| Skin Type | Recommended Tool | Key Features |
|---|---|---|
| Sensitive | Gentle, curved blade | Reduces irritation, easy to maneuver |
| Dry | Hydrating tool with moisturizing strip | Soothes dry skin, reduces flakiness |
| Oily | Tool with adjustable blade angle | Helps control oil production, reduces clogged pores |
| Combination | Tool with interchangeable blades | Adapts to different skin areas, reduces irritation |
| Normal | Standard, straight blade | Effective for most skin types, easy to use |
Safety Features to Look for in a Dermaplaning Tool
When choosing a dermaplaning tool, prioritize your safety! Look for a razor with a sharp blade, comfortable handle grip, and a protective blade cover. Opt for sterile packaging and easy blade replacement so you can feel confident about your at-home dermaplaning routine.
Dermaplaning Techniques for Beginners
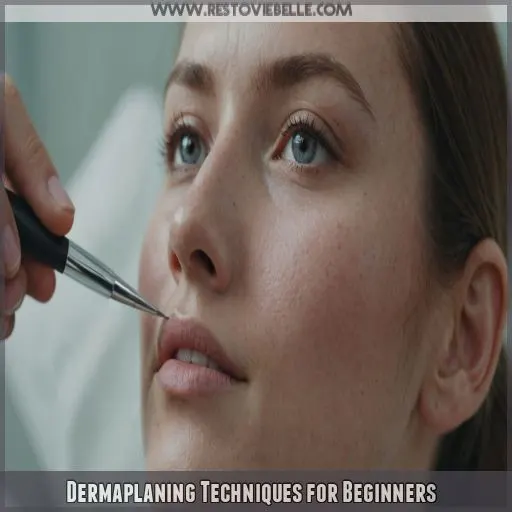
You’re ready to give dermaplaning a try, but you’re not sure where to start.
Don’t worry, with the right techniques, you’ll be on your way to smooth, radiant skin in no time.
In this section, we’ll break down the basics of dermaplaning, from holding the tool correctly to wiping the blade for a smooth experience, so you can dermaplane at home safely and confidently.
Holding the Dermaplaning Tool Correctly
Now that you’ve chosen the right dermaplaning tool, let’s get a grip – literally! Hold the tool firmly, but not too tightly, with a comfortable grip pressure, allowing for smooth strokes and even skin tension.
Positioning the Blade at a 45-Degree Angle
Now that you’re holding the dermaplaning tool correctly, position the blade at a 45-degree angle to make sure you have a smooth, gentle stroke. Keep your skin taut and control the pressure as you move the tool in the direction of hair growth.
Wiping the Blade Regularly for a Smooth Experience
As you dermaplane, remember to wipe the blade regularly to remove dead skin cells and prevent clogging. This promotes a smooth experience and the best possible results. Here are some blade cleaning tips to keep in mind:
- Clean the blade with a cotton pad or soft cloth after each stroke
- Use a gentle cleaning solution or soap and water to sanitize the blade
- Dry the blade thoroughly to prevent rust or corrosion
Dermaplaning on Different Skin Types
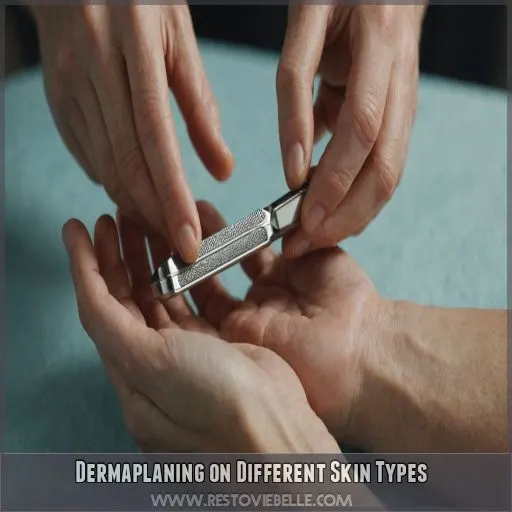
You’re about to learn the pro tips for dermaplaning on different skin types – and trust us, your skin will thank you! Whether you’re dealing with sensitive skin, dry patches, oily zones, or a mix of everything, we’ve got the inside scoop on how to dermaplane safely and effectively at home.
Dermaplaning for Sensitive Skin
If you have super sensitive skin, approach dermaplaning with caution. Consider alternative gentle exfoliation methods or take extra precautions to minimize irritation, like soothing aftercare routines and hydration serums.
Dermaplaning for Dry Skin
Dermaplaning for dry skin requires gentle care to avoid irritation. Exfoliate carefully, hydrate thoroughly, and moisturize after treatment to soothe and protect your skin from dryness and irritation.
- Use a gentle, fragrance-free cleanser before dermaplaning to minimize irritation
- Exfoliate with light, short strokes to remove dead skin cells without stripping moisture
- Apply a hydrating serum immediately after dermaplaning to lock in moisture
- Moisturize with a rich, non-comedogenic cream to soothe and protect dry skin
- Avoid dermaplaning too frequently, as this can exacerbate dryness and irritation
Dermaplaning for Oily Skin
Dermaplaning for oily skin? Yes, it’s a game-changer! Exfoliate carefully to prevent clogged pores, reduce pore size, and balance skin pH for a smoother, more radiant complexion.
Dermaplaning for Combination Skin
When dermaplaning combination skin, balance your skin’s pH with a gentle cleanser, then customize your tool for a medium-light touch to manage pores and reduce acne scars effectively.
Post-Dermaplaning Care and Hydration
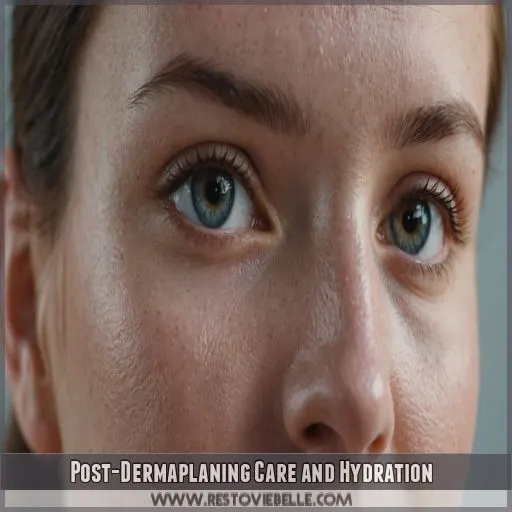
Now that you’ve successfully dermaplaned your skin, it’s time to give it the TLC it deserves to stay smooth, hydrated, and radiant. In this section, we’ll walk you through the essential steps for post-dermaplaning care and hydration, from choosing the right serum to massaging it in for maximum absorption.
Applying a Hydrating Serum After Dermaplaning
Now, apply a hydrating serum to replenish your skin’s moisture. Massage it gently for maximum absorption, and voil! Your skin is one step closer to radiant, smooth perfection.
Choosing a Serum With Soothing Ingredients
After dermaplaning, choose a serum with soothing ingredients to calm and hydrate your skin. Consider the following options:
- Niacinamide: Boosts collagen production, reducing fine lines and dark spots.
- Witch Hazel: Natural astringent that balances skin pH and reduces inflammation.
- Hyaluronic Acid: Locks in moisture, protecting your skin from sun exposure and UV rays.
Massaging the Serum Into the Skin for Optimal Absorption
Now, gently massage the serum into your skin using upward and outward strokes. This helps increase blood flow and serum absorption, giving you that radiant glow you’re after.
| Massage Technique | Benefits | Tips |
|---|---|---|
| Upward Strokes | Boosts collagen production | Be gentle, don’t pull skin |
| Outward Strokes | Increases blood flow | Use fingertips, not palms |
| Circular Motions | Enhances serum absorption | Massage for 30 seconds |
| Gentle Pressure | Relaxes facial muscles | Breathe deeply, relax |
Continuing With Your Regular Skincare Routine
Now that you’ve dermaplaned, stick to your regular skincare routine, making adjustments as needed, and don’t forget to moisturize to keep that radiant glow going – good skin days ahead!
Maintaining Your Results With Dermaplaning Touch-Ups
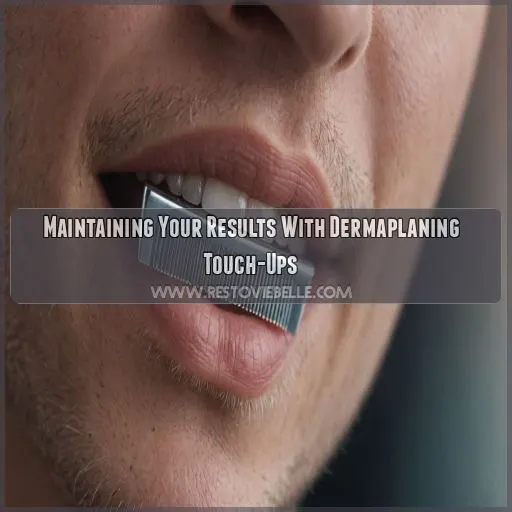
You’ve successfully dermaplaned your way to smooth, radiant skin – now it’s time to maintain those results with quick and easy touch-ups. By incorporating a mini facial hair remover into your skincare routine and scheduling regular dermaplaning sessions, you’ll be able to keep your skin looking and feeling its best.
Using a Mini Facial Hair Remover for Quick Touch-Ups
Now that you’ve got the post-dermaplaning care down, let’s talk quick fixes! A mini facial hair remover is your BFF for on-the-go grooming. Portable and easy to use, it’s perfect for maintaining smooth skin between dermaplaning sessions.
Targeting Specific Areas With a Dermaplaning Touch-Up Tool
Target specific areas with your dermaplaning touch-up tool, like the lip, chin, cheeks, neck, or forehead. Use gentle, light strokes to maintain smooth skin and prevent pesky peach fuzz from ruining your flawless makeup looks at home.
Scheduling Regular Dermaplaning Sessions for Optimal Results
Now that you’ve mastered dermaplaning touch-ups, schedule regular sessions every 4-6 weeks to maintain your glow. Consistency is key, especially for sensitive skin. By doing so, you’ll enjoy smoother, brighter skin and a boosted confidence that’s simply priceless!
Frequently Asked Questions (FAQs)
What should I put on my face before dermaplaning it?
Before dermaplaning, prep your skin by cleansing it with a facial cleanser and then using a cleansing primer to remove dirt, oil, and makeup – think of it as a double-cleanse to get your skin squeaky clean!
Is it safe to dermaplane at home?
Coincidentally, you’re wondering if DIY dermaplaning is safe? Well, generally, it is! With the right tools and techniques, you can safely exfoliate and smooth out your skin from the comfort of your own home.
Is it better to Dermaplane wet or dry?
In the case of dermaplaning, it’s generally recommended to do it on dry skin. This helps the blade glide more smoothly and effectively remove dead skin cells and fine hairs, giving you a fresher, brighter complexion.
How to dermaplane at home for beginners?
Ready to take the plunge? To dermaplane at home as a beginner, start by prepping your skin with a gentle cleanser and primer. Then, use short, feathery strokes with a dermaplaning tool at a 45-degree angle, following hair growth direction.
Will my hair grow back thicker after dermaplaning at home?
Imagine dermaplaning at home and worrying about thicker regrowth. Don’t stress! Your hair won’t grow back thicker, just the same as before. Dermaplaning only removes dead skin cells and fine vellus hairs, not affecting hair follicles or growth patterns.
Can I dermaplane over active acne or rosacea at home?
Don’t dermaplane over active acne or rosacea at home, as it can spread bacteria, worsen breakouts, and cause irritation . Wait until your skin is clear, and consider professional dermaplaning for a safer experience.
How often should I replace my dermaplaning razor blade at home?
To maintain the best results and prevent the spread of bacteria, replace your dermaplaning razor blade at home every 3-4 uses or as soon as you notice a decrease in its effectiveness (Source).
Can I use a regular razor instead of a dermaplaning tool?
Coincidentally, you’re wondering if a regular razor can replace a dermaplaning tool! Sorry, friend, but that’s a recipe for disaster. Dermaplaning tools are specifically designed for safe, gentle exfoliation, so stick with the right tool for the job.
Will dermaplaning at home cause breakouts or skin irritation?
Dermaplaning at home can lead to breakouts or skin irritation if not done correctly, so be gentle and follow proper techniques to minimize risks. Exfoliate carefully, avoid sensitive areas, and moisturize after to keep your skin happy and healthy.
Conclusion
Now that you’ve mastered the art of dermaplaning at home, the real question is: are you ready to maintain that radiant glow?
To dermaplane at home safely is to commit to a regular routine, and trust us, your skin will thank you.
With these pro tips, you’ll be well on your way to silky, smooth skin that’s simply irresistible.