This site is supported by our readers. We may earn a commission, at no cost to you, if you purchase through links.
To cut your beard neckline, start by identifying the dividing line. Look straight into the mirror and place your finger at the top of your Adam’s apple. Run your fingers from the Adam’s apple to the bottom of your ears.
For a Chinstrap beard, the neckline should be above the Adam’s apple, while for a Goatee, it should be below the Adam’s apple. Once you’ve determined the dividing line, trim from the center, starting at the dividing line above the Adam’s apple. Use an appropriate trimmer type for precise cutting and adjust the trimmer to complement your beard length. Maintain a consistent shaving angle and avoid cutting too close to your earlobes.
After trimming, cleanse your neck shave with beard and face wash, apply beard balm to reduce ingrown hairs and irritation, use beard oil to nourish your beard, and refine the shape with a neck razor or beard trimmer. Finally, stand in front of the mirror, tilt your head back, and use one-finger rule or head crease to determine the height of your neckline. Use a trimmer with a guard two levels shorter than your beard length for a gradient. By following these steps, you’ll achieve a well-groomed, polished look.
Table Of Contents
Key Takeaways
- Identify the dividing line by placing your finger at the top of your Adam’s apple and running it to the bottom of your ears.
- For a Chinstrap beard, the neckline should be above the Adam’s apple, while for a Goatee, it should be below the Adam’s apple.
- Use an appropriate trimmer type for precise cutting and adjust the trimmer to complement your beard length.
- Maintain a consistent shaving angle and avoid cutting too close to your earlobes.
How to Cut Beard Neckline?
To cut your beard neckline, place two fingers above your Adam’s apple to find the starting point, then trim in a U shape connecting both earlobes, ensuring not to go too high or too low for a natural look. Use an electric trimmer for precision, and consider squaring off or rounding the corners based on your preferred beard style.
Identifying the Dividing Line
To identify the dividing line for your beard neckline, start by looking straight into the mirror. Place your finger at the top of your Adam’s apple. This is the starting point for your neckline. Now, run your fingers from your Adam’s apple to the bottom of your ears. This line is where your beard neckline should end.
If you’re growing a Chinstrap beard, Goatee, or Van Dyke beard, the dividing line will be different. For a Chinstrap beard, the neckline should be just above the Adam’s apple. For a Goatee, the neckline should be just below the Adam’s apple. For a Van Dyke beard, the neckline should be at the jawline.
When using a neck hair trimmer, consider your face shape. Square edges suit round faces, while rounded edges suit square jawlines. Remember, the goal is to enhance your beard appearance and avoid an unkempt look.
Trimming From the Center
Once you’ve identified your beard’s neckline, it’s time to delve into the complexities of sculpting from the center. Begin at the dividing line, usually a finger’s width above your Adam’s apple. Your trimming path should fan outward, ensuring you don’t stray too high or too low. The appropriate trimmer type is paramount here; a superior beard trimmer will glide effortlessly over your skin, precisely cutting while shielding against nicks and cuts.
As you contour your beard, note that beard length is significant. Adjust your trimmer to complement the length of your beard for a harmonious transition. Maintain a consistent shaving angle to prevent an uneven appearance. After trimming, focus on post-care. Apply beard oil to alleviate skin irritation and impart a healthy glow. A regular beard wash will maintain your neckline’s cleanliness and definition, showcasing your handiwork.
Defining Corners and Shape
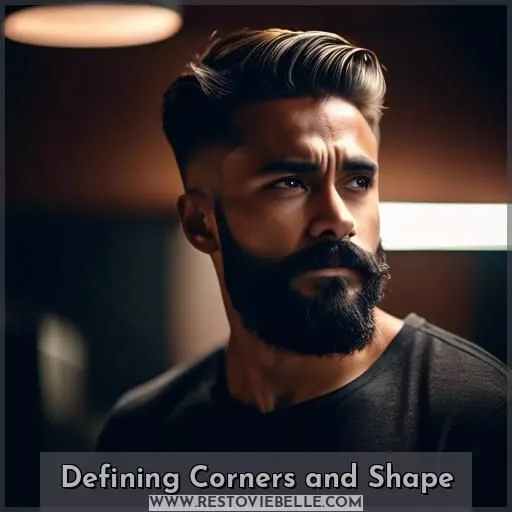
To establish the perimeters and shape of your beard neckline, begin by trimming vertical lines beneath your earlobes. This will aid in creating a crisp, well-defined appearance. Regarding the corners, you can elect to leave them either angular or rounded, contingent on your personal preference. If you seek a more refined, professional aesthetic, you may prefer rounded corners. Conversely, if you desire to preserve a more rugged, natural look, angular corners could be the path to take.
Exercise caution to avoid cutting excessively close to your earlobes, as this can result in ingrown hairs or razor bumps. Furthermore, don’t neglect to remove any stray hairs on your neck to guarantee a tidy, well-groomed appearance.
For individuals with exceedingly long beards, you may opt to forgo trimming the neckline entirely, as your beard will naturally conceal it. However, even if you prefer a more natural look, you can still utilize a neck razor or beard trimmer to refine the shape and ensure a clean, healthy appearance.
Finishing Touches
To maintain a polished presentation, don’t overlook the final details. Initiate by cleansing your neck shave with a premium beard and face wash, such as King C. Beard and Face Wash, to preserve neckline hygiene. Subsequently, apply King C. Beard Balm to mitigate ingrown hairs and irritations. For a more refined appearance, utilize King C. Beard Oil to nourish your beard.
Regarding shaving technique, exercise patience and practice to enhance your abilities. Splash cold water on your face before trimming to minimize friction. Remember, your trimmer choice is pivotal. Select a high-quality beard trimmer, such as the King C. Beard Trimmer, for accuracy and comfort.
For a square beard, employ a King C. Neck Razor to shape your neckline, and refine the edges with the King C. Beard Trimmer. If you favor a rounded beard, opt for curved edges. And don’t forget to use King C. Transparent Shave Gel for a smooth shaving experience.
Integrating these finishing touches into your beard maintenance routine will assist you in achieving a professional, well-groomed appearance.
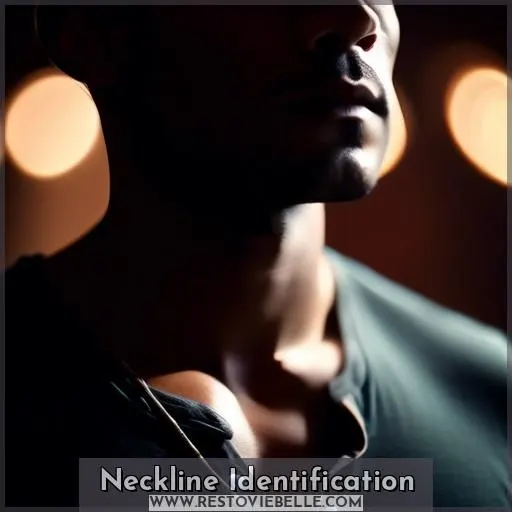
Neckline Identification
Beard neckline identification is a necessary step in achieving a well-groomed and polished appearance for your beard. By following these guidelines, you can identify the dividing line between your beard and neck, ensuring a clean and professional look.
- Look straight in the mirror: Start by standing in front of a mirror and tilt your head back slightly to expose the area under your chin.
- Place your finger at the top of your Adam’s apple: This is where your neckline should begin.
- Avoid the jawline: The neckline shouldn’t extend above your Adam’s apple, as this can create an unnatural appearance.
- Use the one-finger rule or head crease: If you’re unsure about the exact height, you can use your finger to create a curved line that connects your earlobes, passing through the spot above your Adam’s apple. This U shape is your ideal neckline.
For a more defined neckline, you can also consider using a trimmer with a guard set two levels shorter than your beard length. This will help you create a gradient with at least three seamless layers: your normal beard length, shorter hair marking the first half of your neckline, and a fade of very short hair for the second half.
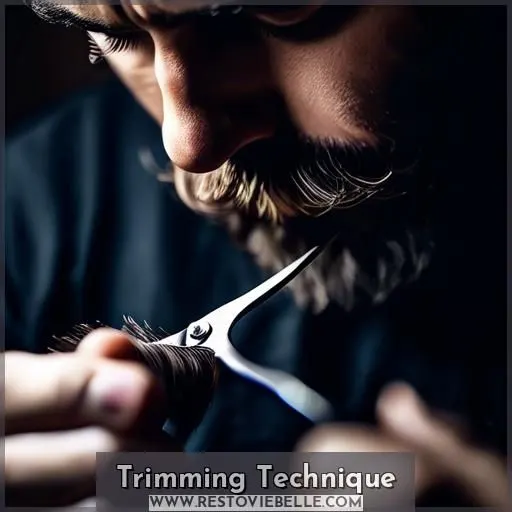
Trimming Technique
Once you’ve pinpointed that sweet spot above your Adam’s apple, it’s showtime for your trimmer. You’re the sculptor, and your beard is the raw marble waiting to be shaped. Kick off the session by setting your trimmer to a guard length that’s a couple of notches shorter than your beard length. This is your secret weapon for creating that seamless fade effect.
Start in the middle, right above the Adam’s apple, and trim down, following the natural beard flow. It’s like mowing a lawn with precision—no stray blade of grass stands a chance. Work your way outwards, maintaining line symmetry as if you’re drawing the world’s most perfect circle—except it’s on your neck.
Keep those trimming angles sharp; think of them as the corners of a picture frame that encapsulate your masterpiece. And remember, beard density is your friend. It adds character and depth, so don’t go too wild with the trimmer. A well-defined neckline turns a scruffy look into a statement of intent. It’s not just about looking good; it’s about commanding the room.
Frequently Asked Questions (FAQs)
How often should I trim my beard neckline?
The frequency of trimming your beard neckline depends on your personal preference and the growth pattern of your beard. Some men shave their neckline every day, while others wait until it becomes itchy again. It’s recommended to experiment and find a frequency that feels comfortable on your skin.
If you’re growing a beard, it’s generally advised to let it grow for about a month before shaving the neckline, and then maintain it as often as you see fit.
Can I trim my beard neckline without a mirror?
Trimming your beard neckline without a mirror is like sailing without a compass; possible, but you’re likely to veer off course. For precision and control, always navigate with a mirror in hand.
What’s the best way to avoid razor burn?
To avoid razor burn, follow these steps:
- Shave after showering, when your skin is soft and wet.
- Use a lubricant like shaving cream or gel to protect your skin.
- Exfoliate your skin before shaving to prevent ingrown hairs.
- Shave in the direction of your hair growth.
- Use light, short strokes.
- Rinse the blade after each stroke to prevent hair and gel buildup.
- Rinse your skin with cold water after shaving to close pores.
- Replace your razor or blade frequently to keep it sharp and rust-free.
- Apply a fragrance-free, moisturizing cream after shaving to restore your skin’s natural barriers.
- Avoid alcohol-containing products on razor bumps, as they can irritate your skin further.
How do I fix an unevenly trimmed beard neckline?
To fix an unevenly trimmed beard neckline, follow these steps:
- Assess the Damage: Look at your beard in the mirror and identify the areas that need adjustment.
- Use the Right Tools: Make sure you have a quality beard trimmer, comb, and hand mirror for precision.
- Start from the Center: Begin trimming from the middle above your Adam’s apple, moving downwards to the outside of your neck along the natural line.
- Check Your Profile: Use a hand mirror to check your side beard profile and adjust the line as needed.
- Clean Up: Finish with a clean neck shave for a polished look.
Are there any specific beard styles that don’t require neckline trimming?
Certainly! There are indeed beard styles that don’t require neckline trimming. For instance, if you’re growing a super long beard, your beard will eventually cover the neckline, so you can let it grow wild and free without trimming it. This is particularly useful for those who prefer a more natural, untamed look.
However, it’s important to keep in mind that this is a matter of personal preference. Some people might still choose to trim their neckline even with a long beard to maintain a more polished appearance. Ultimately, the decision depends on your desired style and how you want your beard to look.
Conclusion
Imagine your beard neckline as an artist’s canvas, and with the right tools and technique, you can craft a masterpiece. By following the detailed guide on how to trim your beard neckline, you’ll be able to define your angles and shape, refine your appearance, and maintain a well-groomed look.
The boundary line is crucial, and with the one-finger rule or head crease, you’ll achieve a polished neckline that enhances your facial hair.
So, grab your trimmer, and let’s embark on your beard transformation.

