This site is supported by our readers. We may earn a commission, at no cost to you, if you purchase through links.

At a salon, professional bleaching can take 2-3 hours as stylists cautiously apply the bleach in sections and monitor it closely to achieve an even, seamless result without damaging your strands.
The timeline varies drastically, but continuing reveals essential tips for minimizing damage and maximizing your desired transformation.
How long does it take to bleach hair at home vs salon?
Table Of Contents
- Key Takeaways
- How Long Does It Take to Bleach Hair at Home and Salon?
- Bleaching Vs. Dyeing Hair
- Risks and Considerations
- Suitability and Preparation
- Bleaching Process
- Upkeep and Maintenance
- Professional Options
- Research and Planning
- Timeline and Levels
- Toning
- Supplies and Bleaching Process
- Frequently Asked Questions (FAQs)
- How long should I leave bleach on my hair for optimal results?
- What is the recommended time to wait between hair color treatments?
- Can I bleach my hair at home, or should I go to a professional?
- How often should I bleach my hair to maintain the desired color?
- What are the risks associated with bleaching my hair, and how can I minimize damage?
- Conclusion
Key Takeaways
- Bleaching hair at home can take anywhere from 20 minutes to an hour, while professional bleaching in a salon can take 2-3 hours.
- Bleaching and dyeing are two primary methods for changing hair color, each with its own advantages and disadvantages.
- Bleaching can damage the scalp and produce unpredictable outcomes, while dyeing only affects the natural hair color and avoids the use of hydrogen peroxide.
- When choosing between bleaching and dyeing, consider factors such as the desired appearance, starting hair color, hair thickness and condition, and the products and techniques used.
How Long Does It Take to Bleach Hair at Home and Salon?
Bleaching hair at home generally takes longer than getting it done at a salon. At home, the process can take up to 30 minutes for lightening or touch-ups, but achieving a significant color change may take several sessions over a few weeks. In contrast, a salon bleaching session can take anywhere from 30 to 60 minutes, depending on the hair type and desired color. The time difference is due to the precision and expertise of salon professionals, who can achieve better results with fewer risks of damage.
Bleaching Vs. Dyeing Hair
Regarding changing your hair color, you have two primary choices: bleaching and dyeing. Both methods have their merits and drawbacks, and it’s critical to discern the differences before making a decision.
Bleaching entails eliminating the innate or artificial hair color, while dyeing solely elevates the natural hair color. Bleaching employs hydrogen peroxide and can harm hair, particularly if not executed properly. Conversely, dyeing exclusively affects the natural hair color and avoids the use of hydrogen peroxide.
If you’re contemplating bleaching your hair, it’s imperative to acknowledge the risks and implications. Bleaching can damage the scalp and produce unpredictable outcomes, especially for delicate, permeable, or damaged hair. It’s advisable to have a professional bleach your hair if it’s dark or previously treated with color. Bleaching can also cause damage, resulting in breakage, frizz, and dryness.
In comparison, dyeing your hair is generally deemed safer, as it only affects the natural hair color. Nevertheless, it’s still crucial to take into account the condition of your hair and consult a professional for intricate color transformations.
When choosing between bleaching and dyeing, factor in your desired appearance, starting hair color, hair thickness and condition, and the products and techniques you’ll be utilizing. Remember, both methods have their advantages and disadvantages, and it’s essential to weigh these factors before making a decision.
Risks and Considerations
Deciding whether to bleach your hair at home or at a salon is a tough choice that comes with risks.
You must weigh the time, cost, and potential for damage against the desired outcome.
Bleaching your hair takes significant time, with multiple sessions often needed to reach the target level, especially when dealing with darker hair.
The process is harsh and can lead to hair breakage, dryness, and compromised hair condition if mishandled.
While DIY bleaching is more affordable, it’s riskier without professional guidance, and corrections at the salon can be costly.
Consulting an expert may be wise if your hair’s condition is delicate or you want a complex color transformation.
Bleaching Time
Bleaching duration varies depending on your hair’s starting color, desired look, and the products used. Home bleaching can be less precise, potentially leading to unpredictable results and damage. Professionals can assess hair damage and provide pre-coloring treatments, ensuring a safer, more controlled process. Remember, bleaching removes hair color, so consider the level of damage before attempting DIY bleaching.
Hair Damage
Bleaching hair can damage your scalp health and produce unpredictable results.
Fine, porous, or damaged hair should be bleached by a professional.
Avoid bleaching if your hair is dark or previously colored.
Bleaching inflicts damage, with the goal being to minimize it.
Use glosses to refresh color without causing further damage.
Deep condition hair regularly and protect hair from heat and sun exposure.
Consult professionals before attempting DIY bleaching.
Professional vs. DIY
When weighing the options of professional consultation versus a DIY approach for hair bleaching, it’s like comparing apples to oranges. A hair colorist brings expertise that can save your locks from a bleach apocalypse, ensuring you don’t bite off more than you can chew with a botched home job. Here’s a quick cost comparison and time commitment rundown:
| Professional | DIY |
|---|---|
| Expertise on tap | Roll the dice |
| Multiple sessions for perfection | One-shot wonder |
| Higher cost, but with finesse | Wallet-friendly, but risky |
| Time commitment varies | Quick fix with potential pitfalls |
| Desired results with a safety net | A leap of faith with hair toner |
Suitability and Preparation
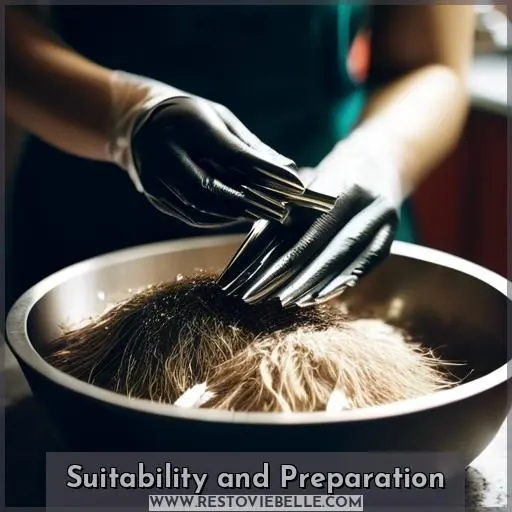
Before you commence your hair bleaching adventure, it’s vital to gear up your hair appropriately to minimize harm and secure the most favorable outcomes. Here are some key steps to adhere to:
- Analyze Hair Condition: Inspect for indicators of damage, like split ends or dryness. If your hair is distressed, consider postponing until it’s in better shape before bleaching.
- Pre-Coloring Treatments: Envision utilizing pre-bleaching treatments, such as hydrating masks, to assist your hair in handling the bleaching process more gracefully. Coconut or argan oil can shield your hair during bleaching by creating a protective layer and hindering the copper and iron in your hair from reacting with the peroxide in the bleach.
- Eschew Recent Colorings: Defer at least 2-4 weeks after your last coloring or bleaching session before attempting to bleach your hair again. This will assist in preventing over-processing and damage.
- Sectioning Hair: Divide your hair into four quadrants to guarantee even application of the bleach. This will assist you in applying the bleach more accurately and evading missed spots.
- Workspace Setup: Select a well-ventilated area and cover your workspace with parchment paper to protect surfaces from bleach stains. Gather all indispensable tools, including a mixing bowl, brushes, and gloves.
- Product Selection: Choose a top-notch bleach and developer that aligns with your hair type and sought-after results. Consider consulting an expert for counsel on the best products to employ.
- Hair Developer: Comprehend the varying strengths of hair developers and select the opportune one for your hair. Enhanced volumes of developer can amplify lift but also magnify damage.
Bleaching Process
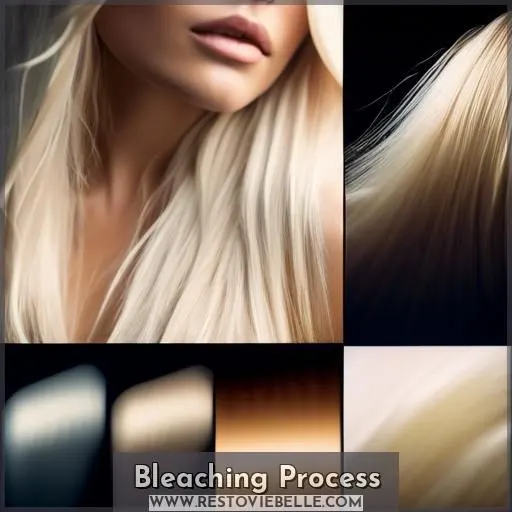
Bleaching your hair at home or in a salon involves different methods and techniques.
For at-home bleaching, you’ll need to prepare your hair by ensuring it’s clean, dry, and free of styling products. Create a dedicated workspace with parchment paper and necessary tools.
Section your hair into four quadrants and apply bleach to smaller segments. The process time varies depending on your hair color and desired results, typically between 20-45 minutes.
After bleaching, shampoo immediately and use a deep conditioner or hair mask to rehydrate your hair.
Upkeep and Maintenance
To maintain your freshly bleached hair, follow these tips for color preservation and hair health:
- Deep Conditioning: Regular deep conditioning is essential to maintain moisture and prevent damage. Use a hair mask once a week or a deep conditioning treatment after every bleaching session.
- Heat Protection: Avoid excessive heat styling, which can harm your hair further. If you must use heat tools, apply a heat protectant spray or serum before styling.
- Gloss Application: To revitalize your color without causing additional damage, use glosses between bleaching sessions. These products add radiance and vibrancy without altering the color.
- Touch-up Frequency: The frequency of touch-ups depends on your hair color and desired outcomes. For subtle changes, you might need a touch-up every 4-6 weeks, while for more significant transformations, you may need to visit a professional every 8-12 weeks. Remember, moderation is often better regarding hair color upkeep.
Professional Options
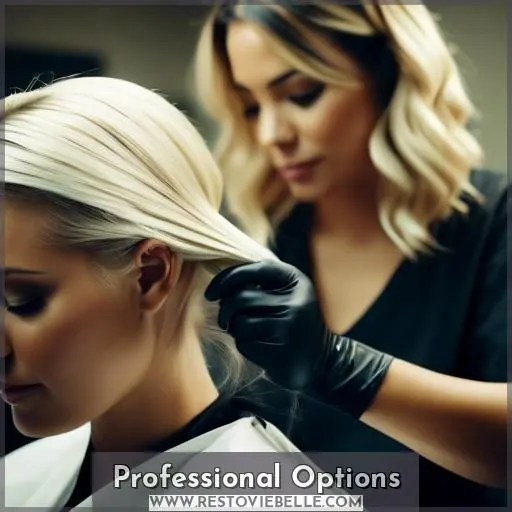
Regarding hair bleaching, professional choices exist to assist in achieving your desired appearance while reducing damage. These choices entail salon procedures and expert guidance from hair color specialists.
One prevalent salon treatment is Olaplex, a three-step process formulated to mend and avert hair damage. It’s frequently utilized during the bleaching and coloring process to safeguard hair from further damage. Another potent treatment is the Collagen Treatment, which can contribute to enhancing hair elasticity and strength.
For those with compromised hair, consulting a professional prior to attempting any bleaching is crucial. They can proffer tailored advice predicated on your hair type and condition, ensuring the bleaching process is both safe and efficacious.
Research and Planning
Before you set out on your bleaching adventure, it’s key to do your due diligence. Here are three essential steps to guarantee a positive outcome:
- Grasp Bleaching Preparation: Investigate the optimum methods for getting your hair ready for bleaching. This encompasses gauging your hair’s health, contemplating pre-coloring treatments, and comprehending the potential risks of bleaching, such as scalp harm and unpredictable outcomes.
- Weigh DIY versus Salon Bleaching: Consider the advantages and disadvantages of DIY bleaching compared to salon bleaching. While DIY bleaching can save you funds, it presents more risks, particularly for delicate, porous, or damaged hair. Salon bleaching, on the other hand, might be pricier but can offer superior results and lessen the likelihood of damage.
- Discover Toning Techniques and Bleaching Equipment: Learn about toning methods to improve your preferred color and locate the appropriate bleaching equipment, such as bleach, developer, brushes, and gloves. Keep in mind that bleaching calls for meticulous planning and execution to accomplish the desired results without causing needless harm to your hair.
Timeline and Levels
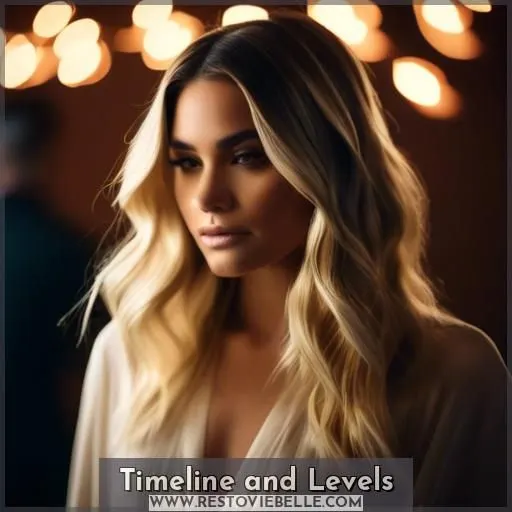
Regarding hair bleaching, the timeline and levels are paramount factors.
Bleaching phases differ based on your initial hair hue and desired outcomes. For example, lightening dark hair necessitates more time and potentially multiple sessions.
Comprehending the level system is imperative, as it correlates with the degree of lightening achievable with varying peroxide developer strengths. Higher developer volumes enhance lift but also heighten damage.
Consulting a professional is advisable for intricate color transformations or if your hair is delicate, porous, or damaged. Bear in mind that bleaching incurs damage, so minimizing it is the aim.
If you contemplate hair coloring or bleaching, always evaluate your natural hair level and estimate the number of bleaching sessions required. Patience and planning are vital for attaining your desired hair color concepts without causing excessive damage.
Toning
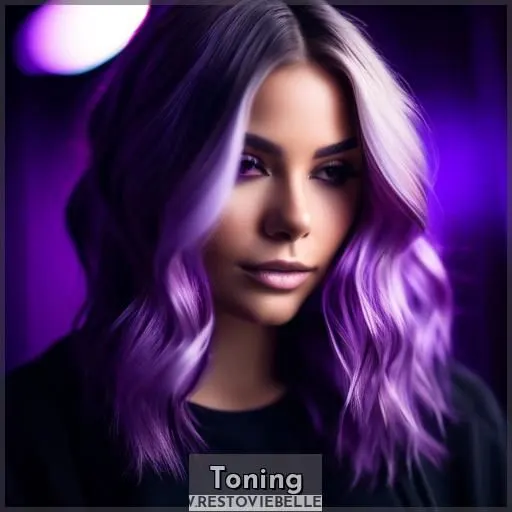
When it comes to adjusting your hair color after bleaching, there are some things you need to know. Firstly, toning methods can vary based on the desired result. For instance, if you’re aiming for a cool, ashy tone, you may consider using a silver toner. However, it’s essential to be aware that toners can be unpredictable and mightn’t produce the precise shade you envision.
When choosing a toner, consider the level of your hair color and the intended outcome. For example, if you’ve bleached your hair to a light blonde, you may want to use a toner with a blue or purple base to neutralize any yellow undertones. Additionally, toners can be either temporary or permanent, so make sure to select one that aligns with your desired level of commitment.
Toning duration can also vary depending on the toner used and the level of your hair color. Generally, toners can last anywhere from a few days to several weeks. To maintain the longevity of your toner, avoid washing your hair too often and use sulfate-free shampoos and conditioners.
Finally, when it comes to toner removal, it’s essential to be aware that toners can fade over time, so regular touch-ups may be required. Additionally, some hair dye products may contain toning agents, so be sure to read labels carefully and consider using a color-safe shampoo to preserve your desired shade.
Supplies and Bleaching Process
Bleaching Hair: Supplies and Process
Lightening your hair at home requires meticulous planning and the appropriate supplies. Here’s a list of essentials for a successful bleaching process:
- Bleach: Select a high-quality bleach kit that encompasses the bleach powder or liquid, a developer, and gloves.
- Developer: The developer establishes the potency of the bleach and the extent of lift it will provide. Common developer strengths include 10, 20, 30, and 40 volumes.
- Bowls and Brushes: Utilize separate bowls for mixing the bleach and developer, and a pristine brush for application.
- Gloves: Shield your hands from the bleach and facilitate even application.
To ascertain even application and monitor progress, follow these steps:
- Sectioning Hair: Divide your hair into four quadrants: left, right, top, and bottom. Clip the left section out of the way before applying bleach to the right section, starting half an inch away from the scalp and moving down to the ends.
- Repeat Application: Apply bleach to the top section, then the bottom sections. Return to your first section and begin applying bleach to the roots, section by section. Repeat this on the other three sections.
- Monitor Progress: Check the progress regularly to avert over-bleaching, which can lead to damage and unpredictable results.
- Shampoo and Condition: Shampoo immediately after the timer expires, then use a deep conditioner or hair mask to rehydrate your hair.
Frequently Asked Questions (FAQs)
How long should I leave bleach on my hair for optimal results?
For the best results, you should leave the bleach on for 20-45 minutes, checking frequently. Timing varies based on your hair’s condition, color, and desired shade of blonde. Don’t hurry it – patience is key to achieving that perfect icy hue without damaging your locks.
What is the recommended time to wait between hair color treatments?
As the old adage goes, Patience is a virtue – especially regarding hair coloring. Ideally, wait at least 4-6 weeks between treatments to avoid excessive damage. Your strands need time to recover and regain their strength.
Can I bleach my hair at home, or should I go to a professional?
For best results, you should go to a professional colorist to bleach your hair. Bleaching at home is risky and can severely damage your hair if not done properly. A trained stylist knows how to minimize damage while achieving your desired shade.
How often should I bleach my hair to maintain the desired color?
Going lighter than the sun itself, you’ll want to bleach every 4-6 weeks to maintain that blindingly brilliant hue. Too often risks frying your locks into a stringy mess, so pace yourself – hair health matters most.
What are the risks associated with bleaching my hair, and how can I minimize damage?
You’re risking severe damage by bleaching hair yourself. Consult professionals – they’ll safely lift color while minimizing breakage. At-home bleaching often fries strands, especially if it’s your first rodeo.
Conclusion
Traversing the bleaching process requires a delicate equilibrium, akin to traversing a high wire.
Whether you opt for the ease of home bleaching or the proficiency of a salon specialist, grasping the time frame for bleaching hair both at home and in the salon is paramount.
Adopting meticulous preparation, adhering to professional advice, and dedicating oneself to diligent upkeep will guarantee your tresses exude the sought-after transformation while mitigating harm.
Ultimately, the adventure is as gratifying as its outcome.

