This site is supported by our readers. We may earn a commission, at no cost to you, if you purchase through links.
Say goodbye to dry skin and hello to a refreshed, radiant you. These DIY recipes are simple, effective, and oh-so-indulgent. You deserve a little pampering, so let’s get started!
Table Of Contents
- Key Takeaways
- What is a Sugar Scrub?
- Sugar Vs. Salt Scrub
- DIY Sugar Scrub Ingredients
- Homemade Sugar Scrub Recipe
- Using Your Sugar Scrub
- Sugar Scrub Variations
- Storing Your Sugar Scrub
- Benefits of Body Scrubs
- DIY Body Scrub Safety Tips
- Body Scrub for Sensitive Skin
- Frequently Asked Questions (FAQs)
- What is the best homemade body scrub?
- How to make body scrub with 3 ingredients?
- How do I make my own sugar scrub?
- What’s better, salt or sugar scrub?
- How often should I use a body scrub?
- Can I use a body scrub on my face?
- How long does a DIY body scrub last?
- Can I exfoliate sunburnt skin?
- What are the benefits of body scrubs?
- Conclusion
Key Takeaways
- Indulge in an At-Home Spa Retreat: Create your own luxurious body scrubs using ingredients like sugar, salt, and oils.
- Embrace the Power of Sugar: Gentle exfoliation, moisture, and antioxidant properties make Sugar scrubs versatile and ideal for sensitive skin.
- Customize Your Scrub Experience: Experiment with essential oils, carrier oils, and add-ins to create a tailored experience that caters to your personal preferences and skin needs.
- Treat Your Skin with Care: Adhere to safety guidelines, select gentle ingredients, and avoid over-exfoliation to maintain the health and glow of your skin.
What is a Sugar Scrub?
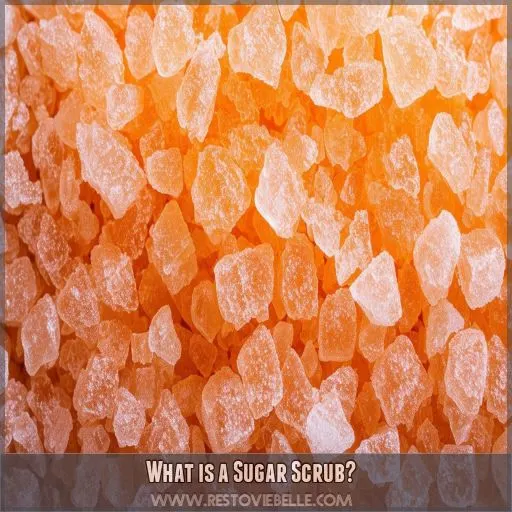
You’ve probably heard of sugar scrubs, but what exactly are they? Well, they’re your skin’s secret weapon for exfoliation and nourishment. Sugar scrubs are homemade or store-bought mixtures that use sugar as the main exfoliating agent.
But don’t be fooled – sugar’s not just for sweetening your coffee! It’s a natural exfoliant that gently buffs away dead skin cells, leaving your skin smooth and glowing.
Plus, sugar’s got some surprising benefits. It’s a natural humectant, meaning it helps your skin retain moisture. Sugar also boasts antioxidant properties, fighting off those pesky free radicals. Some even claim it has antibacterial and anti-inflammatory effects.
Sugar Vs. Salt Scrub
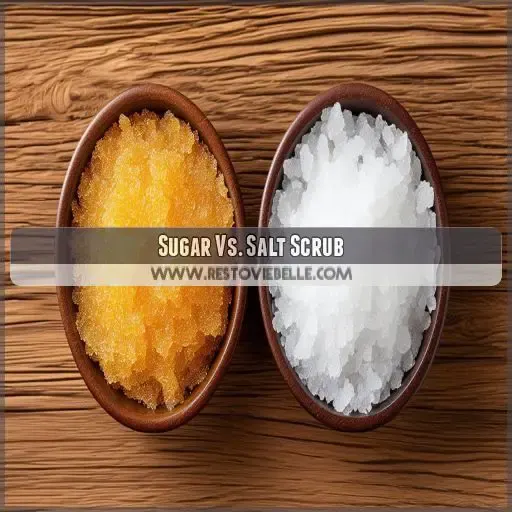
When choosing between sugar and salt scrubs, consider your skin type and desired results. Sugar scrubs are gentler, making them ideal for sensitive skin and facial use. They’re also more moisturizing, thanks to their natural glycolic acid content. Salt scrubs, on the other hand, offer deeper exfoliation and detoxifying benefits, perfect for rough areas like feet and elbows.
Here’s why you might prefer one over the other:
- Sugar scrubs: Softer texture for a luxurious, pampering experience
- Salt scrubs: Invigorating sensation that leaves you feeling refreshed
- Sugar scrubs: Sweet scents that evoke childhood memories
- Salt scrubs: Mineral-rich formula that nourishes your skin
Both options can be enhanced with essential oils for added benefits. Ultimately, your choice depends on personal preference and skin needs. Experiment with homemade recipes to find your perfect body scrub match!
DIY Sugar Scrub Ingredients
Now that you’ve learned the difference between sugar and salt scrubs, let’s explore the ingredients you’ll need for your DIY sugar scrub. Creating your own exfoliating wonder is easier than you think!
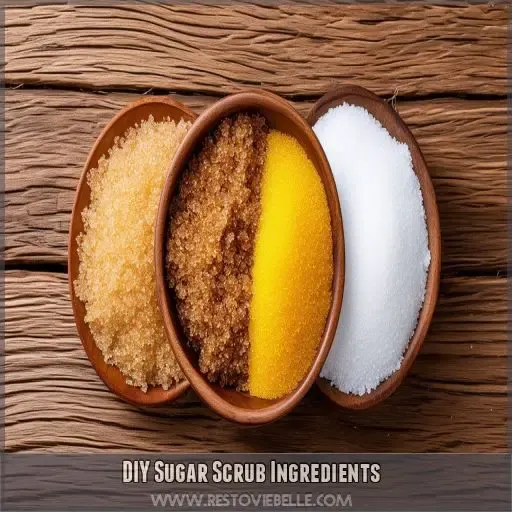
You’ll need three main components: sugar, oil, and optional add-ins for scent and extra benefits. Choose from white, brown, or caster sugar as your base exfoliant. For the oil, coconut oil is a popular choice, but you can also use jojoba, olive, or sweet almond oil.
Want to add a touch of luxury? Lavender essential oil can transform your scrub into a spa-like experience.
With these simple ingredients, you’re on your way to crafting a personalized sugar scrub that’ll leave your skin glowing and smooth.
Homemade Sugar Scrub Recipe
Ready to whip up your own homemade sugar scrub? It’s easier than you think!
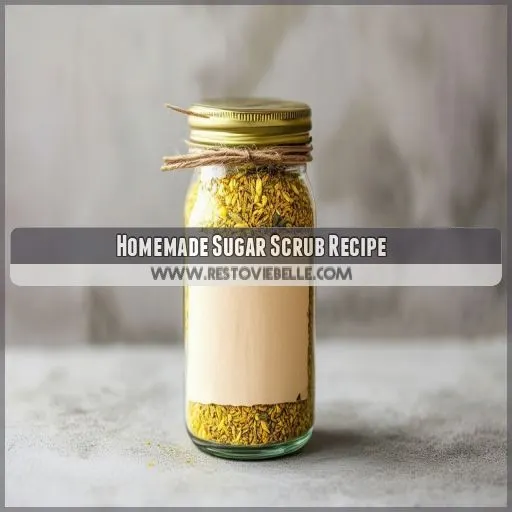
Start with 2 cups of your preferred sugar – caster sugar for a finer texture or cane sugar for a more robust exfoliation. Mix in 1/2 cup of coconut oil, melted for easy blending.
Now, customize your scent with 10-15 drops of essential oils. Lavender for relaxation, citrus for energizing – the choice is yours! Stir everything together in a bowl until well combined.
Voila! You’ve just created a luxurious exfoliating body scrub that’ll slough away dead skin cells and leave you glowing. Pour your creation into a clean jar, and you’ve got a perfect gift for friends or a treat for yourself.
This homemade sugar scrub has a shelf life of about 6 months.
Using Your Sugar Scrub
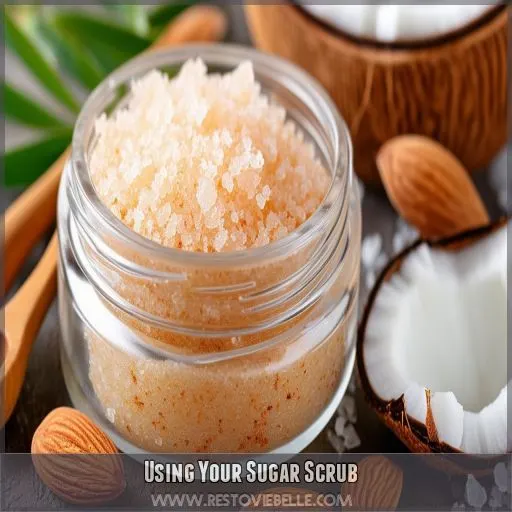
- Apply to damp skin in circular motions, focusing on rough areas
- Rinse thoroughly with warm water
- Follow up with a moisturizer to lock in hydration
For best results, use your sugar scrub 2-3 times a week. Pay attention to your skin’s sensitivity and adjust application frequency accordingly. Proper storage is key to maintaining your scrub’s effectiveness – keep it in an airtight container away from moisture. Don’t forget to customize your scrub based on scent preferences and add-in options. With regular use, you’ll notice smoother, healthier skin that’s better able to absorb moisturizers. Enjoy your homemade spa experience!
Sugar Scrub Variations
Now that you’ve mastered the basic sugar scrub, it’s time to explore exciting variations.
Swap out white sugar for alternatives like brown sugar or coffee grounds, each offering distinct advantages.
Brown sugar’s finer texture is ideal for sensitive skin, and coffee may help minimize the appearance of cellulite.
Experiment with scent combinations by adding essential oils: citrus for an energizing boost, or lavender for a relaxing aroma.
Consider the texture preferences and frequency of scrub use when selecting add-ins.
For a refreshing twist, create a lemon sugar scrub by adding lemon zest and juice.
Explore different carrier oils, too: coconut oil offers deep moisturization, while jojoba oil mimics the skin’s natural sebum.
Storing Your Sugar Scrub
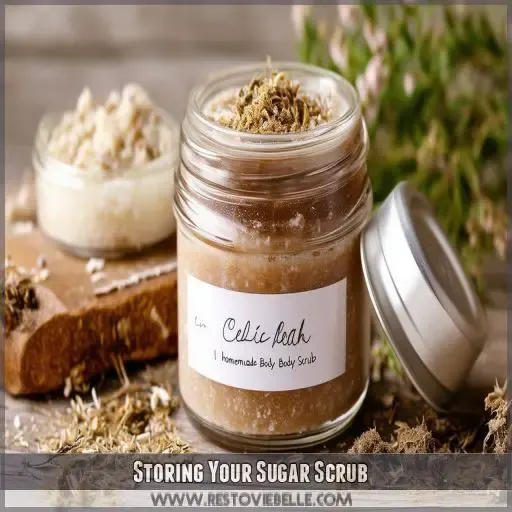
Your homemade sugar scrub can last for at least six months if stored properly. The key factors to keep in mind for storage are air exposure, container choice, and temperature control.
To maximize the shelf life of your scrub, choose a container with an airtight seal, such as a mason jar. This will prevent air exposure and keep the contents fresh. Additionally, consider the temperature of your storage area. Room temperature is generally suitable, but if you live in a hot climate, you may need to store it in a cooler place or even the refrigerator to maintain its texture and prevent separation.
If you plan to make a large batch, you can also explore freezer storage. Freezing your sugar scrub can extend its shelf life considerably, and it will be ready to use whenever you need it. Simply thaw it at room temperature before use and give it a good stir to guarantee the ingredients are well combined.
Proper storage will guarantee your DIY sugar scrubs, whether it’s a coffee scrub recipe, pumpkin spice sugar scrub, or grapefruit lemonade lip scrub, stay fresh and effective for months, providing you with glowing, exfoliated skin.
Benefits of Body Scrubs
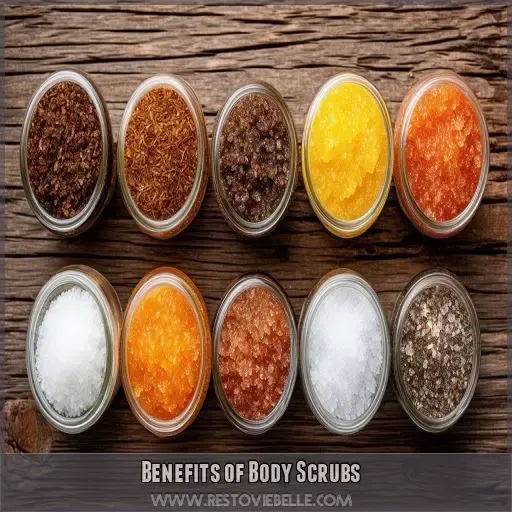
Using body scrubs regularly offers multiple benefits for your skin, including improved texture, enhanced product absorption, and stress relief properties. You’ll feel rejuvenated as dead skin cells are removed, allowing moisturizers to penetrate deeper and your skin to glow.
Improved Skin Texture
Body scrubs are a great way to improve skin texture and achieve that desired glowing, exfoliated skin. Here’s how:
- Exfoliation: By gently scrubbing your skin with a homemade blend of natural ingredients like sugar, salt, or coffee grounds, you’ll slough off those dry and dead skin cells, revealing softer, smoother skin underneath.
- Moisturization: Oils like jojoba, coconut, or vitamin E oil in your DIY scrub will nourish and hydrate your skin, locking in moisture for a healthy glow.
- Customizable Scents: Add eucalyptus essential oil or dried flowers to create a sensory experience that relaxes and rejuvenates, making your skincare routine a delightful ritual.
Enhanced Product Absorption
Body scrubs don’t just slough off dead skin cells, they also prep your skin to better absorb your favourite skincare products. Whether you’re a fan of rich body butters or lightweight lotions, a good scrub will make sure your moisturiser sinks in for maximum hydration.
| Product | Absorption |
|---|---|
| Moisturiser | Enhanced |
| Lotion | Improved |
| Serum | Boosted |
| Cream | Optimised |
| Skincare | Amplified |
Stress Relief Properties
Body scrubs offer stress relief and relaxation, soothing your skin and mind. Aromatherapy scrubs with essential oils like lavender or vanilla provide mental health benefits, while exfoliating scrubs like unicorn sugar or walnut offer physical relaxation.
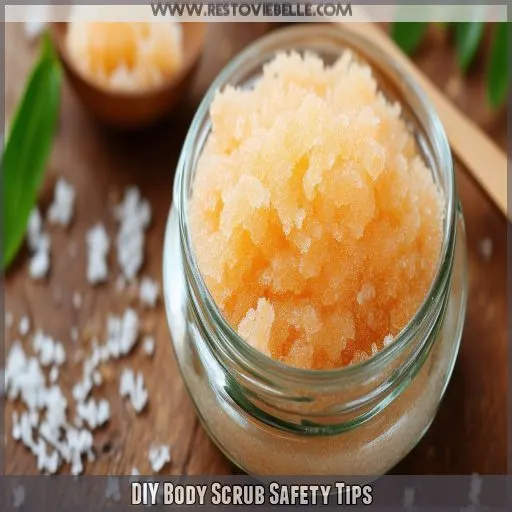
DIY Body Scrub Safety Tips
When creating your own body scrub, there are some important safety precautions to keep in mind to guarantee a positive experience:
- Patch testing: Before using any new essential oil, perform a patch test on a small area of your skin to check for allergies or sensitivities. This is especially important if you have dry or easily irritated skin.
- Sunburn avoidance: Avoid exfoliating sunburned skin, as it can further damage and irritate it. Wait for your skin to heal before using a body scrub.
- Use sparingly: While body scrubs are great for exfoliation, over-exfoliation can lead to skin irritation. Use your scrub a few times a week at most, and always listen to your skin.
- Oil choices: Opt for skin-nourishing oils like olive oil or avocado oil as your base. These oils are rich in vitamins and antioxidants, providing extra benefits to your scrub.
- Customisation: The beauty of DIY scrubs is customisation. Whether you want a citrus mint sea salt foot scrub or a pink sugar body polish, you can create a scrub that suits your unique skin needs and preferences.
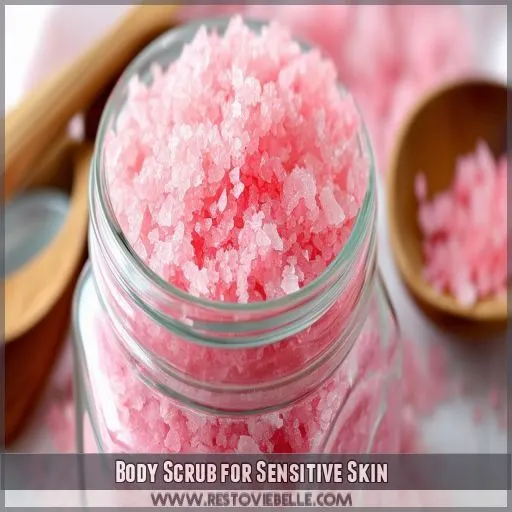
Body Scrub for Sensitive Skin
If you have sensitive skin, it’s important to choose a body scrub that will gently exfoliate without causing irritation. The key is to avoid harsh ingredients and to moisturize afterwards.
A great option for sensitive skin is a DIY brown sugar scrub. The sugar granules are smaller and softer than salt, making them ideal for gentle exfoliation. Plus, the natural glycolic acid in sugar helps condition and moisturize your skin.
To make your own, simply mix brown sugar with a carrier oil like jojoba or almond oil. You can also add a few drops of essential oil, such as lavender, for a soothing scent.
Remember to patch test any new ingredients on a small area of skin first, and always be gentle when exfoliating. Your skin will thank you for it!
Frequently Asked Questions (FAQs)
What is the best homemade body scrub?
There are several options for homemade body scrubs, depending on your preferences. For example, a coconut mint lime sugar scrub can exfoliate dead skin cells and leave your skin smelling tropical. Or, for dry skin, a rose body scrub can help heal scars and fight inflammation.
How to make body scrub with 3 ingredients?
Sugar scrubs are a great way to exfoliate your skin, and you can make one at home with just three ingredients. All you need is sugar, an oil (like coconut or almond), and an essential oil of your choice.
How do I make my own sugar scrub?
To make a sugar scrub, mix 1 cup of sugar with 3/4 to 1 cup of oil. Add 1-2 drops of essential oil. For a stronger colour, use mica powder. Store in an airtight container.
What’s better, salt or sugar scrub?
Sugar scrubs are better for sensitive skin, as they’re gentler and less likely to irritate. Salt scrubs are more abrasive, ideal for exfoliating tough skin on your elbows, feet, and heels.
How often should I use a body scrub?
You should use a body scrub 1-3 times a week. Over-exfoliation can damage skin cells, so be careful not to use a body scrub every day.
Can I use a body scrub on my face?
‘A stitch in time saves nine.’ Body scrubs aren’t recommended for facial use. The skin on your face is more sensitive than the rest of your body. Body scrubs are formulated for thicker, tougher skin and have stronger acid concentrations, which can cause adverse reactions on the face.
How long does a DIY body scrub last?
Your DIY body scrub should last between two to six months. To extend its shelf life, store it in an airtight container, keep it dry, and use it sparingly.
Can I exfoliate sunburnt skin?
No, you shouldn’t exfoliate sunburnt skin. It’s best to allow the skin to heal on its own. Once the skin is no longer red, itchy, or sensitive, you can gently exfoliate with a clean washcloth.
What are the benefits of body scrubs?
Body scrubs are your skin’s best friend. They exfoliate, sloughing away dead skin cells and revealing softer, smoother skin. They also unclog pores, preventing breakouts and drawing out ingrown hairs.
Conclusion
Treat yourself.
Now you know everything there’s to know about homemade body scrubs, from the benefits they offer to the ingredients and methods needed to create your own. With this knowledge, you can pamper yourself and achieve that radiant, smooth skin. So, get creative in the kitchen and indulge in a luxurious spa experience at home. Remember to follow the safety tips and choose ingredients suitable for your skin type. Happy scrubbing!

