This site is supported by our readers. We may earn a commission, at no cost to you, if you purchase through links.
We’ll cover everything from prepping for success in the shower through monitoring temperatures while using a flat iron.
So let’s dive into all things heat styling so you can learn how to safely straighten hair like an expert.
Table Of Contents
- Key Takeaways
- How to Straighten Hair: the Basics
- Prep for Straight Hair in the Shower
- Rough Dry Your Hair
- Use the Right Brush
- Wait Until Your Hair is Bone Dry
- Use a Thermal/Heat Protectant
- Monitor Your Temperature
- Take It One Section at a Time
- Straightening Tips While Using a Flat Iron
- Which Tools Should Be Present in the Hair Straightening Kit?
- Conclusion
Key Takeaways
- Use sulfate-free shampoo and conditioner for pre-shower preparation.
- Apply heat protectant cream or leave-in conditioner before straightening.
- Select the right flat iron with adjustable temperature settings and consider your hair’s texture.
- Section your hair, maintain the correct distance and temperature, and glide the flat iron slowly for even results.
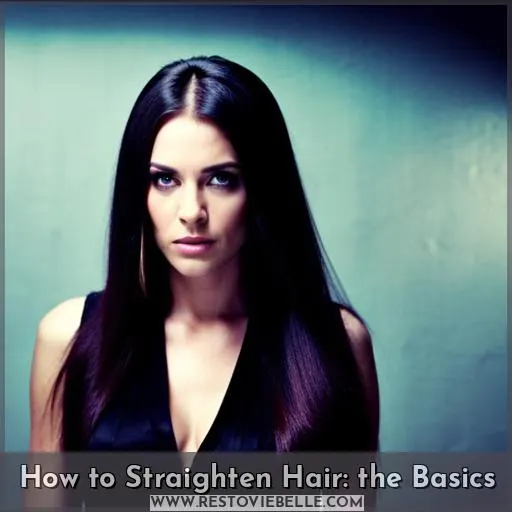
How to Straighten Hair: the Basics
You can achieve sleek, salon-worthy hair in the comfort of your own home with a flat iron – but only if you know how to use it correctly! Start by selecting the right product for your hair type and texture.
Choose a straightener that has adjustable temperature settings tailored to suit different hair types and textures.
When styling, make sure to use heat protectants on dampened strands. This will reduce damage from excessive temperatures. Before using the flat iron, section out smaller portions of hair. This ensures that each strand is evenly heated throughout its length for an even finish.
As you glide the flat iron through each section, keep it about 1-3 inches away from the scalp. Be careful not to adjust the temperature control too high or leave it on for too long. This could cause irreparable damage over time. Instead, opt for lower temperatures over longer periods when possible.
With these tips in mind, you’ll soon have smooth locks worthy of envy!
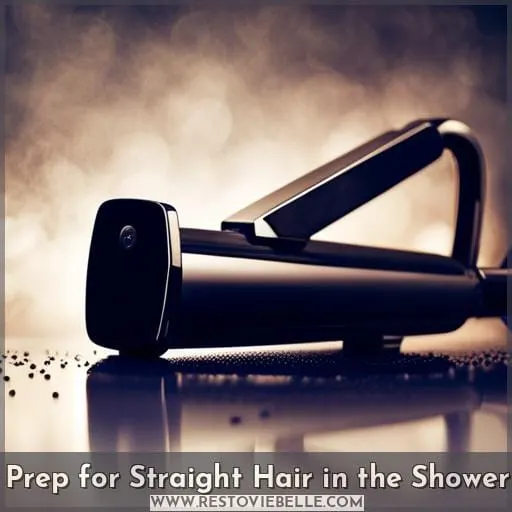
Prep for Straight Hair in the Shower
Before you attempt to style your hair with a flat iron, make sure to pamper it in the shower for the best results. Use sulfate-free shampoo and conditioner for moisture retention and frizz control.
After towel drying, apply heat protectant cream or leave-in conditioner throughout damp hair before blow-drying on a low setting. This will prepare your locks for styling while minimizing potential damage from the high temperatures of flat irons.
When selecting a flat iron, consider the texture of your tresses. Thin or fine hair requires lower temperatures, while thicker strands can tolerate higher settings up to 410°F (210°C).
To ensure even heat distribution, use a microfiber towel when blow-drying and gently brush through each section with a paddle brush prior to straightening. Use an appropriate temperature setting on your selected tool, whether it’s part of an entire kit or just the single appliance itself.
Start 1-3 inches away from the scalp as you glide slowly down each strand until the desired look is achieved.
With proper preparation followed by careful straightening techniques, combined with quality products such as dry oil spray and hairspray, ensures shiny, healthy-looking locks are always yours!
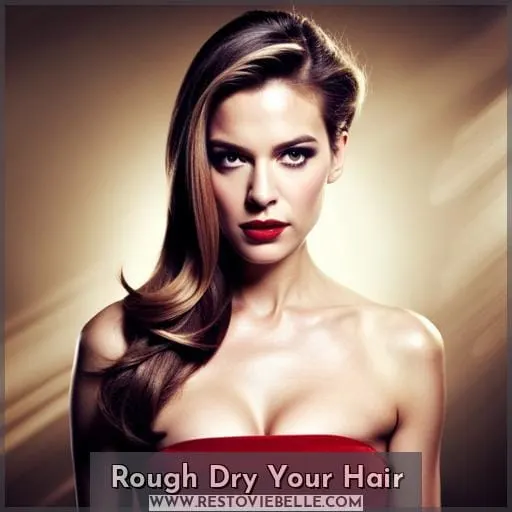
Rough Dry Your Hair
Once your hair is towel-dried, grab a blow-dryer and roughly dry it to take out some of the moisture before you start straightening with the flat iron.
This will also help control frizz while maintaining natural texture in your hair. Be sure to use heat protectant products like thermal protectants and dry oil sprays on damp strands for extra protection from scorching temperatures when styling with heated tools.
You can also opt for an ionic-powered hairdryer that releases negative ions, which smooths the cuticle layer, making it easier to achieve sleek locks faster! To finish off, use either a boar bristle brush or paddle brush as this helps distribute oils evenly throughout your mane, giving added shine!
With the right techniques and quality products at hand, achieving salon-worthy results at home has never been easier.
Use the Right Brush
To get the perfect straightening job, grab a brush that works for your hair type and texture. Bristle types vary depending on how thick or fine your hair is. Opt for natural bristles if you have thicker locks, while synthetic can be better suited to finer tresses.
For those looking to protect their strands from heat damage when styling with flat irons or rollers, using a thermal protection spray beforehand should also be part of any routine.
Finally, invest in quality products and make sure they are regularly maintained by cleaning them after each use.
Wait Until Your Hair is Bone Dry
It’s essential that you wait until your hair is completely dry before beginning to style with a flat iron – otherwise, you could risk damaging it. This means using proper drying techniques and applying heat protection products before straightening.
To ensure an even finish, use the section technique when using a flat iron. Choose a flat iron based on your hair type for optimal results.
When styling with heat tools like this, take care of your hair health by waiting days between sessions. This allows your hair to recover its natural oils and moisture levels before being exposed to high temperatures again.
Waiting until your hair is bone dry ensures maximum efficiency from the flat iron while preventing any potential damage. Avoid exposing wet or damp strands directly to intense heat sources like these devices.
With the right approach each time you straighten your hair, it will be well-kept, safe, and extremely healthy-looking afterwards!
Use a Thermal/Heat Protectant
Before you even pick up your flat iron, spritz a thermal protectant from roots to tips for extra protection against heat damage. Heat protection products can help reduce the risk of damaging your hair by keeping it hydrated and protected during styling.
Look for product recommendations that contain natural ingredients like argan oil or jojoba oil as these oils have been known to help nourish and condition hair while also providing heat protection.
Additionally, using a blow dryer prior to straightening with an iron is important because it helps set the style so that fewer passes of the iron are required when styling. This results in less exposure time under high temperatures, which can cause further damage if not properly monitored.
Don’t forget to use some type of serum on damp hair before starting any type of thermal styling.
Lastly, always make sure you use temperature control settings on all devices used when straightening. Too much heat can severely damage delicate strands, leading to split ends and breakage over time.
Monitor Your Temperature
Monitoring your temperature when using a flat iron is key to achieving smooth, healthy-looking hair without risking damage. Even though it may be tempting to crank up the heat for faster results, resist the urge and stick with an appropriate setting that best suits your hair type.
Before you begin straightening, use a thermal/heat protectant spray or smoothing products like mousse or finishing spray on dampened locks for extra protection from the high temperatures of styling tools.
Optimal temperatures range between 300°F and 350°F (150–177 °C) depending on your hair texture. Fine-textured strands will require lower settings while thick coarse curls need higher heat levels in order to achieve desired results.
For maximum safety, enable auto shutoff features when possible. Incorporating quality hairsprays into your routine styling regimen is also a useful way of managing heat levels while protecting your tresses at the same time!
Take It One Section at a Time
Divide your hair into manageable sections and take it one at a time. Use sectioning techniques to transition from the scalp through the mid-lengths and ends of your hair for styling efficiency.
Be sure to use heat-protecting products while straightening, as well as quality flat iron tools like the T3 SinglePass Luxe Flat Iron, which has adjustable temperature settings (260°F – 410°F). This will ensure even heat distribution throughout each strand without causing any damage or excessive dryness.
As you move down each section, keep in mind that gliding too quickly can result in an uneven finish.
Hair straightening should be done with care. By taking it one section at a time and applying necessary precautions such as using protective products, you’ll achieve shiny locks without compromising its health!
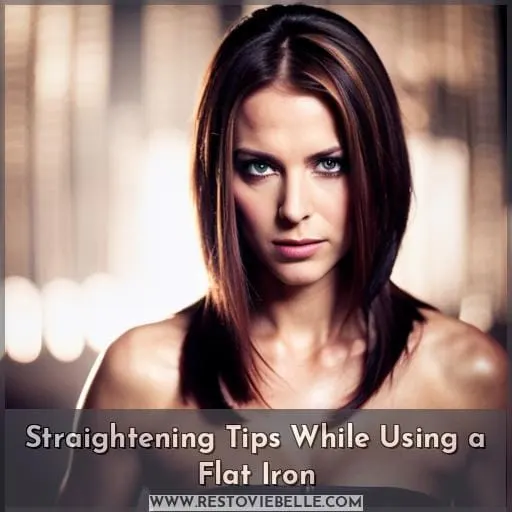
Straightening Tips While Using a Flat Iron
To achieve the best results when using a flat iron to straighten your hair, it is important to start off on the right foot. Ensure that you clean and prepare your hair properly before starting by shampooing with sulfate-free products, conditioning for moisture, drying with a microfiber towel, and applying heat protectant cream.
Additionally, thoroughly comb each section of hair in preparation for styling – always starting at the back of the head – before running through one-inch sections with your flat iron until complete.
Get the Start Right
Start by using a heat protectant cream on damp hair and blow-drying to minimize frizz. Use sulfate-free shampoo, followed by a microfiber towel for cleansing and frizz reduction. Select the right flat iron depending on your hair texture; keep it 1-3 inches from the scalp as you glide slowly for even straightening.
Clean It to Maintain It
To keep your flat iron in perfect working order, make sure to clean it regularly. A quick wipe down using a damp cloth after each use will help remove product buildup and excess oils, which can clog the plates.
Additionally, deep cleaning with rubbing alcohol every few weeks helps ensure hygienic styling for years to come! Make sure not to submerge your flat iron or its cord as this could damage the appliance’s internal components.
Comb It Right
Combing your locks with a flat iron can be tricky, but if you take the time to get it right, you’ll have smooth and glossy strands that last all day. Start by detangling your hair from root to tip using styling combs or brushes. Select one made of quality material like boar bristles or ceramic teeth for optimal results.
When straightening each section, use a wide-tooth comb on wet hair before clamping down the flat iron for maximum shine without breakage. If needed, apply more heat protectant cream throughout this process for extra protection against damage and frizziness caused by excessive heat exposure.
With these tips in mind, guarantee yourself beautiful tresses every single time!
Always Start Backwards
Take it from the back first—the key to a perfect straightening job lies in beginning at the nape of your neck and working forward. The Reverse Technique is essential for achieving polished locks and boosting volume, especially when styling bangs.
Iron selection is important too: use one with adjustable temperature settings suitable for your hair type to help preserve its health.
One Inch at a Time
Glide the flat iron through your hair one inch at a time, like you’re painting it straight. This precision straightening technique is key to mastering flat iron mastery and achieving perfect results every time.
Sectioning techniques will help keep each part of your hair looking sleek and polished by controlling the heat as well as where you are in terms of progress. Take it slow for best results, going from root to tip with finesse – allowing just enough time for even coverage before pulling away from that section’s strand completely before repeating on the next bit of hair.
The inch by inch method allows you to hone in on any areas that need extra attention or tweaking while keeping an eye out for consistent levels all over your head until perfection has been achieved! With this foolproof approach, get ready to show off gorgeous locks with smoothness unlike ever before!
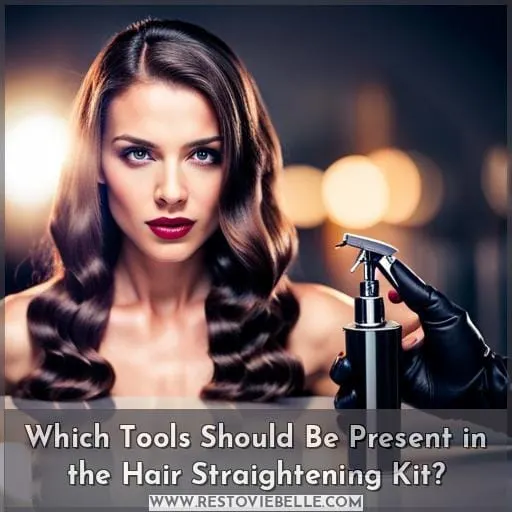
Which Tools Should Be Present in the Hair Straightening Kit?
Are you looking to create salon-worthy hair at home? To ensure your straightening is done correctly, it’s essential that you have the right tools. From a quality Hair Iron and Clips for Sectioning, to a Hair Brush, Dryer, and Flat Rollers – these items are necessary when straightening your locks.
Hair Iron
Choose the right tool to achieve your desired style with a T3 SinglePass Luxe Flat Iron, featuring adjustable heat settings and Tourmaline + ceramic plates for sleek results. With proper maintenance, temperature control, hair sectioning techniques, and styling knowledge, you can get perfect straightening results every time.
Make sure to include items in your hair straightening kit such as a quality flat iron, heat protectant cream or spray, a microfiber towel, dry oil spray for shine and hold, and good hairspray.
To avoid damage from over-heating the plates, be sure to keep the flat iron 1-3 inches away from the scalp while gliding slowly in each section of hair until it is completely straightened.
For added volume, straighten bangs in the opposite direction before finishing off with an oil spray or hairspray for protection against humidity throughout the day!
Clips for Sectioning
Separate your locks into sections with clips before straightening to achieve an even salon-level result quickly and efficiently. Choose the right clip type for you, such as butterfly clips or duckbill clips. Sectioning helps you focus on one area at a time so that each strand is evenly heated by the flat iron, resulting in smooth hair without heat damage.
Styling clips are perfect for sectioning off bangs or shorter layers of hair too! Experiment with different techniques like French braiding, which can help keep sections separated more securely while styling and will give a unique look when released after straightening.
With these tricks up your sleeve, get ready to show off sleek tresses every day!
Hair Brush
Run a brush through your strands to detangle prior to sectioning for straightening. When selecting the right brush, consider bristles that are soft but strong enough not to break when brushing out tangles and knots.
Natural boar bristle brushes work well with all hair types, while nylon-tipped paddle brushes provide more control on thicker or coarser hair.
To prevent damage from pulling on your locks, use gentle pressure as you brush and make sure you’re using the appropriate technique for each type of braid or curl pattern in order to maintain healthy ends without split ends.
Regular maintenance is key. Cleanse your bristles twice monthly with warm water and shampoo, then let them air dry before reusing them again! Following these tips can help ensure smooth styling results every time after proper detangling techniques are complete!
A Hair Dryer
Blow dry your locks with a quality hair dryer to reduce frizz and ensure even heat distribution. Select one with adjustable temperatures so you can customize for your desired look, as well as incorporate different drying techniques like concentrator nozzles or diffusers.
For maximum protection, use a heat protectant spray before drying and try not to over-dry the strands. When selecting the best blow dryer for your needs, consider factors such as wattage and weight of the device.
Higher wattages will provide more powerful airflow but also weigh more, while lower ones are lighter in weight but less effective at controlling frizz.
Follow up by using oils or creams if needed for extra shine depending on hair type.
Flat Rollers
Glide flat rollers through your locks for a voluminous style. Styling accessories like flat rollers are an essential tool to use in combination with your hair straightener. Learn the roller techniques that will give you maximum volume and curl definition, while protecting against heat damage.
Start by using heat protection cream on damp hair before drying it with a blow dryer or diffuser. Then, slide the heated roller into each section of your strands, curling away from the face as you go along for glamorous waves and curls.
Use different sized rollers to achieve various looks. Smaller ones create tighter ringlets while larger ones yield more relaxed curls.
With proper technique and care, you can easily get salon-worthy styles without leaving home!
Conclusion
The art of straightening hair with a flat iron requires practice and care. With the right tools, technique, and product knowledge, you can achieve salon-worthy looks at home. Take your time, section off the hair, and use a heat protectant. Start with a low temperature and increase if needed.
Use the right brush and wait until your hair is completely dry before straightening. Investing in a quality flat iron and other styling tools will help you get the best results.
