This site is supported by our readers. We may earn a commission, at no cost to you, if you purchase through links.
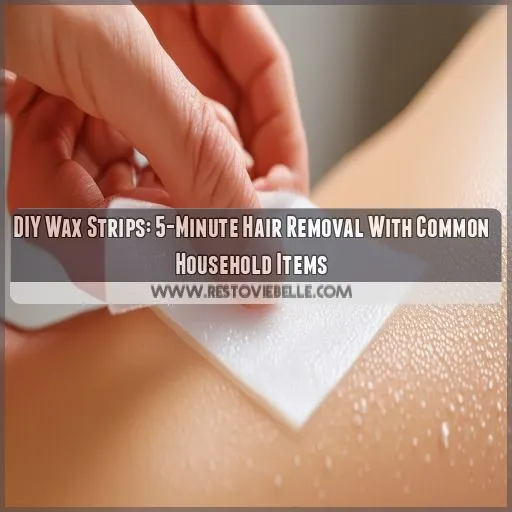 Got a last-minute date and need to de-fuzz, fast?
You can make DIY wax strips in minutes with common household items.
We’ll show you how to make your own wax and strips, plus give you tips for skin prep and aftercare.
From fabric to paper bags, we’ll explore the best alternatives to store-bought strips and teach you how to wax like a pro.
Table Of Contents
- Key Takeaways
- DIY Wax Strip Alternatives
- Homemade Wax Strip Ingredients
- Making the Wax Base
- Creating Wax Strips
- Proper Storage and Usage
- Skin Preparation Tips
- Aftercare and Best Practices
- Frequently Asked Questions (FAQs)
- What can I use if I don’t have wax strips?
- What can I use instead of wax sticks?
- How can I wax my hair without wax strips?
- Can you use fabric as wax strips?
- How do I remove wax residue?
- Whats the best way to store my homemade wax strips?
- What ingredients do I need to make my own wax strips?
- How can I reduce redness after waxing?
- How long should my hair be before waxing?
- Conclusion
Key Takeaways
- You can make your own wax strips at home using common household items like fabric, paper bags, or magazine covers. It’s a sustainable, cost-effective, and personalized alternative to store-bought strips.
- Creating a natural wax base is simple, using ingredients like sugar, honey, lemon, and glycerin for a sticky, moisturizing, and preservable wax.
- Proper skin preparation is key for effective and less painful waxing. Cleanse, exfoliate, trim, and powder the area for the best results.
- Aftercare is essential to soothe and protect the skin post-waxing. Moisturize, use cooling gels, and exfoliate a few days later to prevent ingrown hairs and maintain smooth skin.
DIY Wax Strip Alternatives
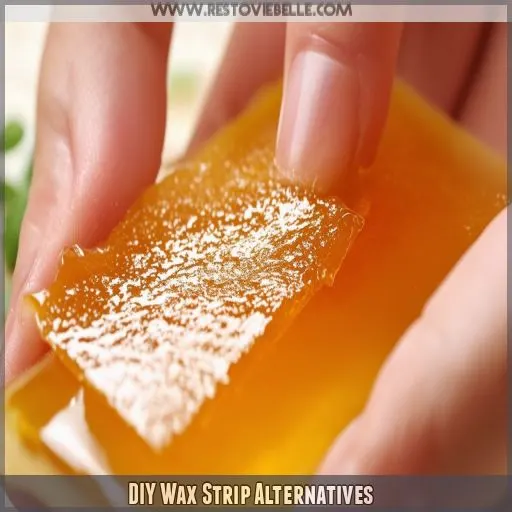
If you’re looking for DIY wax strip alternatives, there are a few different options you can use. You can choose from fabric strips, paper bag strips, or even magazine cover strips, depending on what you have readily available and what works best for your skin.
Fabric Strips
Fabric strips are a sustainable and cost-effective alternative to traditional wax strips.
They can be reused and washed multiple times, making them a great option for those who want to save money and reduce waste.
Cotton and muslin fabrics are ideal choices due to their texture and absorbency.
Cut and customize the strips to fit any body part, ensuring a personalized waxing experience.
Paper Bag Strips
Paper bag strips are a brilliant, eco-friendly alternative to fabric strips. Paper bags are readily available, sustainable, and budget-friendly. Cut paper bags into strips, apply wax, and press onto the skin. Pull quickly against the direction of hair growth for smooth results.
Magazine Cover Strips
Another creative and eco-friendly alternative to fabric and paper bag strips are magazine cover strips.
These provide a smooth surface for easy wax application and are a fun, budget-friendly option.
The glossy surface of magazine covers also makes for easy strip removal.
Simply cut the magazine covers into strips, apply wax, and press onto the desired area.
For best results, pull the strip off quickly against the direction of hair growth.
Homemade Wax Strip Ingredients
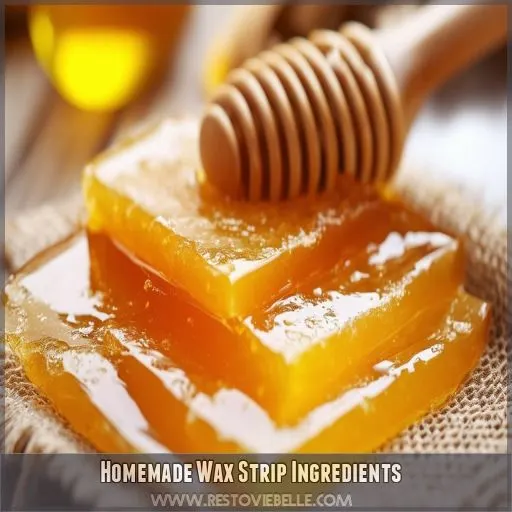
To make your own hair removal wax at home, you’ll need a few simple ingredients:
- Sugar: This is the base of your wax and gives it that sticky texture.
- Honey: Honey acts as a natural sweetener and also helps to moisturize your skin.
- Lemon: Lemon juice adds a fresh scent and contains citric acid, which helps preserve your wax.
- Citric Acid: This natural preservative will keep your wax from crystallizing.
- Glycerine: Adding glycerine prevents the wax from becoming brittle and moisturizes your skin.
With these common household items, you can create a cost-effective and eco-friendly hair removal solution.
Making the Wax Base
Now that you’ve gathered your ingredients, it’s time to make your natural wax base. This process involves dissolving sugar in water over low heat to create a smooth consistency.
The sugar acts as the base for your hard wax, providing the stickiness needed for effective hair removal. You’ll want to stir the mixture continuously until the sugar is completely dissolved, creating a syrup-like consistency.
This step is really important for ensuring your homemade hair removal wax has the right texture and grip.
Creating Wax Strips
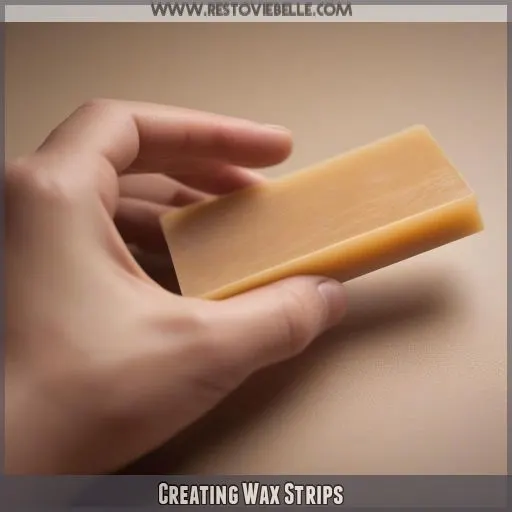
Creating your own wax strips is simple and effective. You can use fabric, paper bags, or magazine covers for this purpose. Here’s a step-by-step guide:
- Fabric Strips: Cut or tear cotton or linen fabric into strips. Sew around the edges to prevent fraying. Fabric strips are reusable and washable, making them a cost-effective and eco-friendly choice.
- Paper Bag Strips: Cut paper bags into strips. This sustainable option is readily available and budget-friendly.
- Magazine Cover Strips: Cut magazine covers into strips. The glossy surface provides a smooth application and easy removal.
Proper Storage and Usage
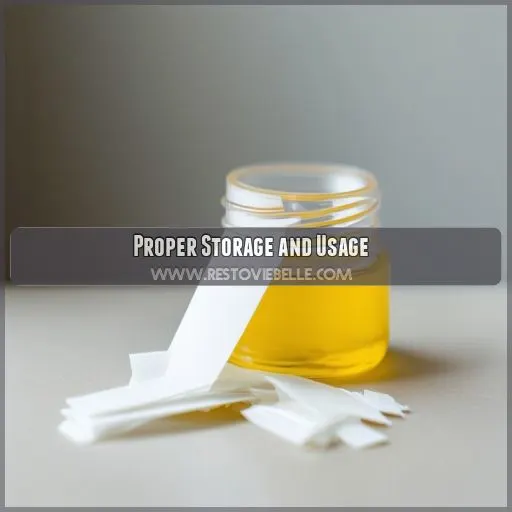
Now that you’ve created your wax strips, it’s time to talk about how to store and use them so your DIY hair removal kit stays fresh and works well.
| Storage Options | |
|---|---|
| Refrigerator | Store your wax strips in the fridge for up to a couple of weeks. |
| Freezer | For longer storage, the freezer is your best friend. Your wax strips can last a couple of months here. |
| Container | Keep your wax strips in a clean, dry container to keep them in good shape. |
When it comes to temperature, the fridge is your best friend. Your wax strips will keep their texture and last longer when stored properly. Think of it like keeping your favorite food fresh—you want to keep your hair removal tools ready to go!
Skin Preparation Tips
Before you start waxing, it’s important to prep your skin for the best results and to make it less painful. Here are some key tips to keep in mind:
- Cleanse: Start by washing the area you’re going to wax thoroughly. This gets rid of dirt, oil, and anything else on your skin, so the wax can stick to it properly.
- Exfoliate: Exfoliating is key to getting smooth skin after waxing and preventing ingrown hairs. Gently exfoliate the area a day or two before waxing, focusing on areas where hair grows thicker.
- Trim: Make sure your body hair is the right length for waxing. Aim for about 1/8-inch to 1/4-inch long. Trimming longer hairs will make waxing more comfortable and effective.
- Powder: Dust a little baby powder or cornstarch on the area. This absorbs extra moisture and oils, making the surface dry so the wax can grip better.
Aftercare and Best Practices
Now that you’ve conquered the hair removal process, it’s time to focus on aftercare to soothe your skin and maintain that smooth, hair-free canvas. After waxing, you should apply a moisturizer suitable for your skin type to nourish and protect the treated area. This is especially important if you’re prone to dryness or have sensitive skin.
To reduce redness and inflammation, reach for a cooling gel or aloe vera, which will help calm and refresh your skin. If you’ve waxed areas like your face or other visible parts of your body, consider doing it at night before bed to give your skin time to recover before you face the day.
Ingrown hairs can be a pesky side effect of waxing, but there are ways to prevent them. Exfoliating the area a few days after waxing can help prevent ingrown hairs from forming. Additionally, choosing the right products is key—avoid harsh chemicals and opt for natural, gentle formulas.
Frequently Asked Questions (FAQs)
What can I use if I don’t have wax strips?
You can use old t-shirts, magazine covers, or paper bags as alternatives to wax strips. Homemade cloth strips are reusable, eco-friendly, and thick enough to stick to the wax and hair.
What can I use instead of wax sticks?
You can use wooden tongue depressors as an alternative to wax sticks. You can also use a single applicator stick throughout a single session at home.
How can I wax my hair without wax strips?
You can make your own wax at home using sugar, water, lemon juice, and salt. Then, stretch the wax into a ball and pull to create an elastic texture. Store the wax in the fridge and reheat when needed.
Can you use fabric as wax strips?
Fabric wax strips are effective and eco-friendly. They’re perfect for grabbing those stubborn hairs and work well on the bikini area. You can even make your own at home using cotton or muslin fabric.
How do I remove wax residue?
To remove wax residue, you can use a hot water compress, petroleum jelly, alcohol, oil, or hydrogen peroxide.
Whats the best way to store my homemade wax strips?
Store your homemade wax strips in a cool, dry place, like a refrigerator or freezer. Avoid storing them in warm areas to prevent the wax from melting off the strips.
What ingredients do I need to make my own wax strips?
You’ll need sugar, water, and citric acid for a basic wax. For a soft wax, add honey and lemon juice. Hard wax is made with beeswax and rosin, and you can add oils and vitamins.
How can I reduce redness after waxing?
Like a tiger’s stripes, post-waxing redness is a force to be reckoned with. But don’t worry, you’ve got options to tame that tiger. Try applying a cool compress of milk, water, and ice, or a mix of mint, green tea, and boiling water. You can also use over-the-counter hydrocortisone or witch hazel.
How long should my hair be before waxing?
Hair should be between 1/8-inch and 1/4-inch long for the best waxing results. For body hair, aim for 1/4-inch to 1/2-inch. If it’s your first time waxing, know that your skin might be red and warm for a bit afterward.
Conclusion
Last-minute plans and unexpected dates can be a breeze with this quick and easy DIY wax strip method. With common household items, you can whip up your own wax and strips in minutes, saving you from that last-minute panic.
From fabric to magazine covers, we’ve explored a range of alternatives to store-bought strips, giving you options for whatever’s in your cupboard. We’ve also shared tips for skin prep and aftercare, so you can achieve smooth, hair-free skin with minimal irritation.
Now you’re equipped with the knowledge to create your own DIY wax strips and enjoy fuss-free hair removal at a moment’s notice.

